

Knowing how to pick up and knit/purl stitches is a valuable skill that is pretty simple to learn. Most knitters worry about leaving holes when they pick up stitches. That is a legit concern but there is an easy way around that to give you the assurance and confidence that your finished work will look great!
This post’s adventure is a piece that begins with a provisional CO, has stitches slipped on one edge but not the other and is finished by picking up stitches on each side, the provisional CO and to add an edging all around.
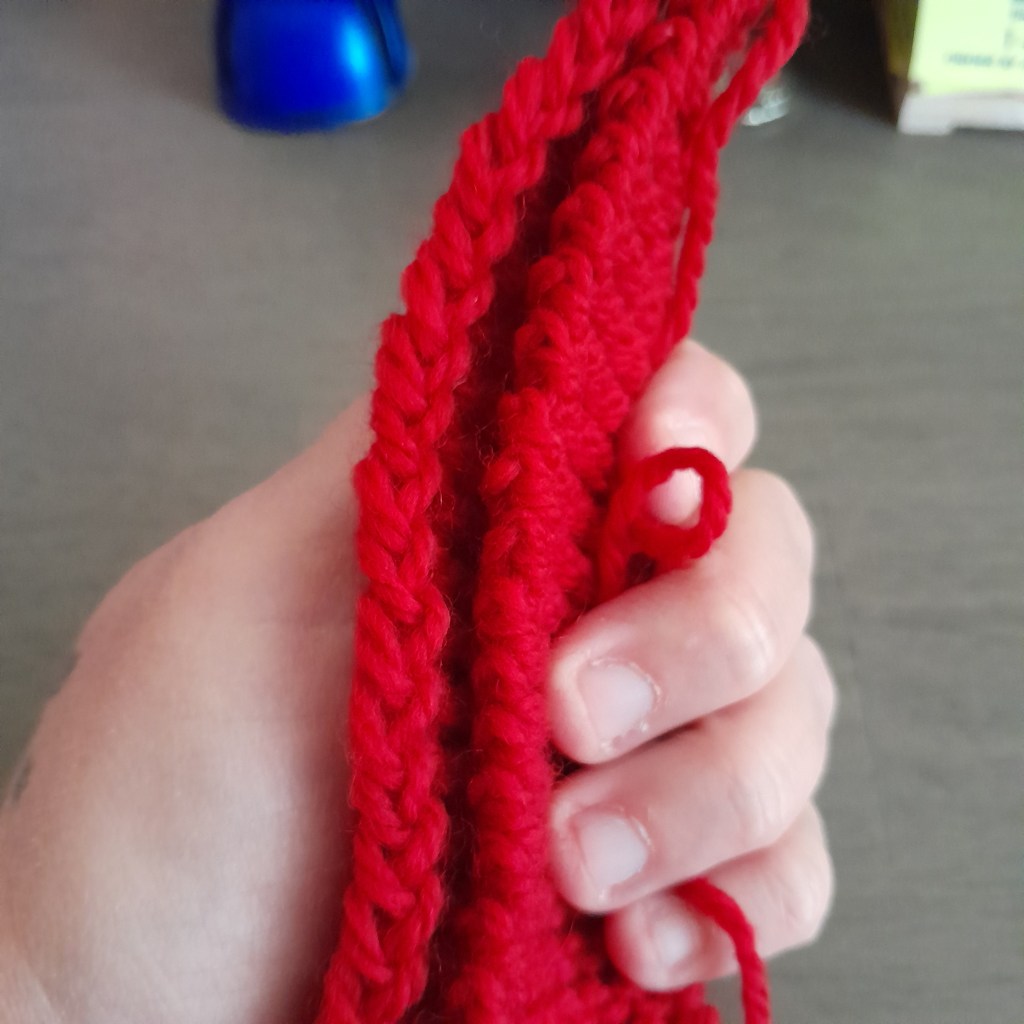
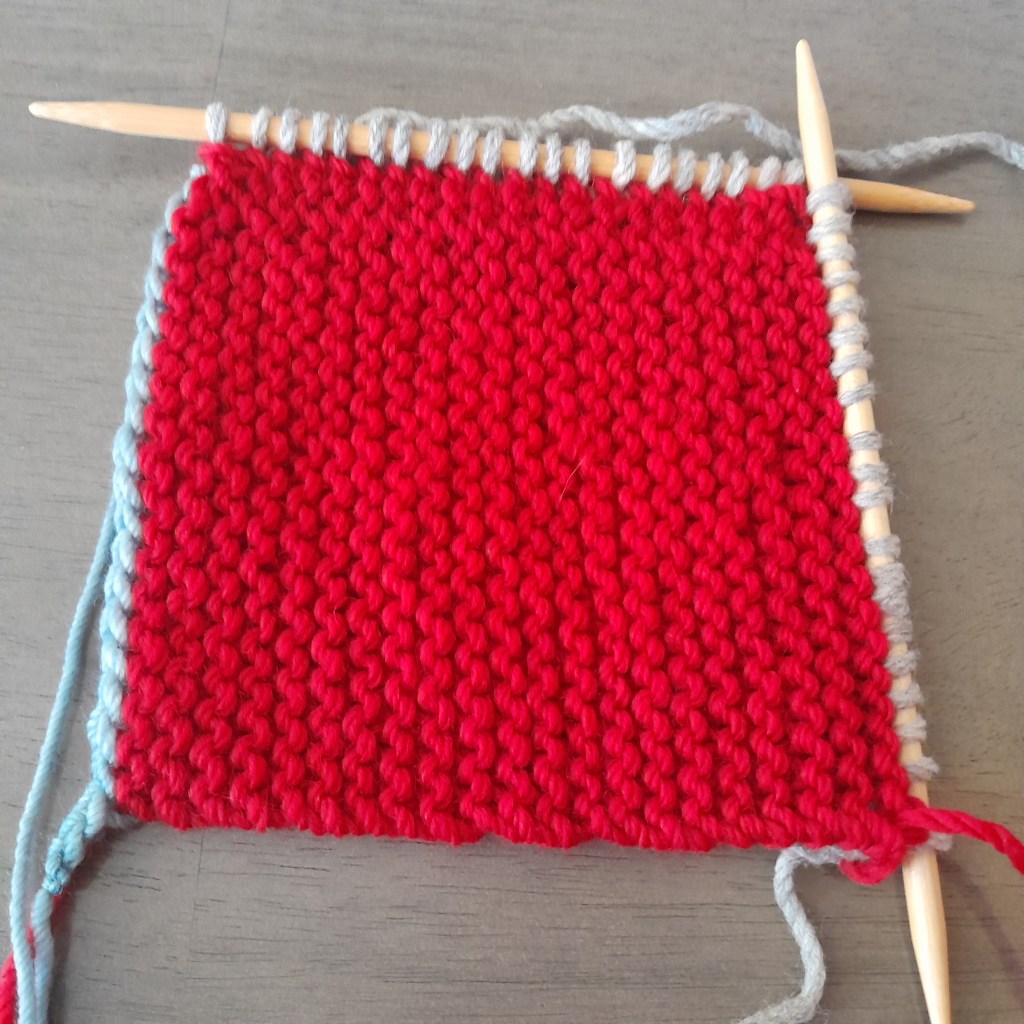
You can use any yarn and needle combination that you’d like. I used double pointed needles size US 9 / 5.5mm, with worsted weight yarn. Using a set of 5 double pointed needles works great for this. I used a different yarn for the provisional cast on of course, but I also used a different yarn to pick up the stitches so that you could see things better.
Provisionally CO 20 stitches. (I used the Crochet Cast On.)
Row 1: Knit across.
Row 2: Slip the first stitch, purl-wise with the yarn in front, knit across remaining stitches.
Repeat Rows 1 and 2 until you have worked 40 rows.
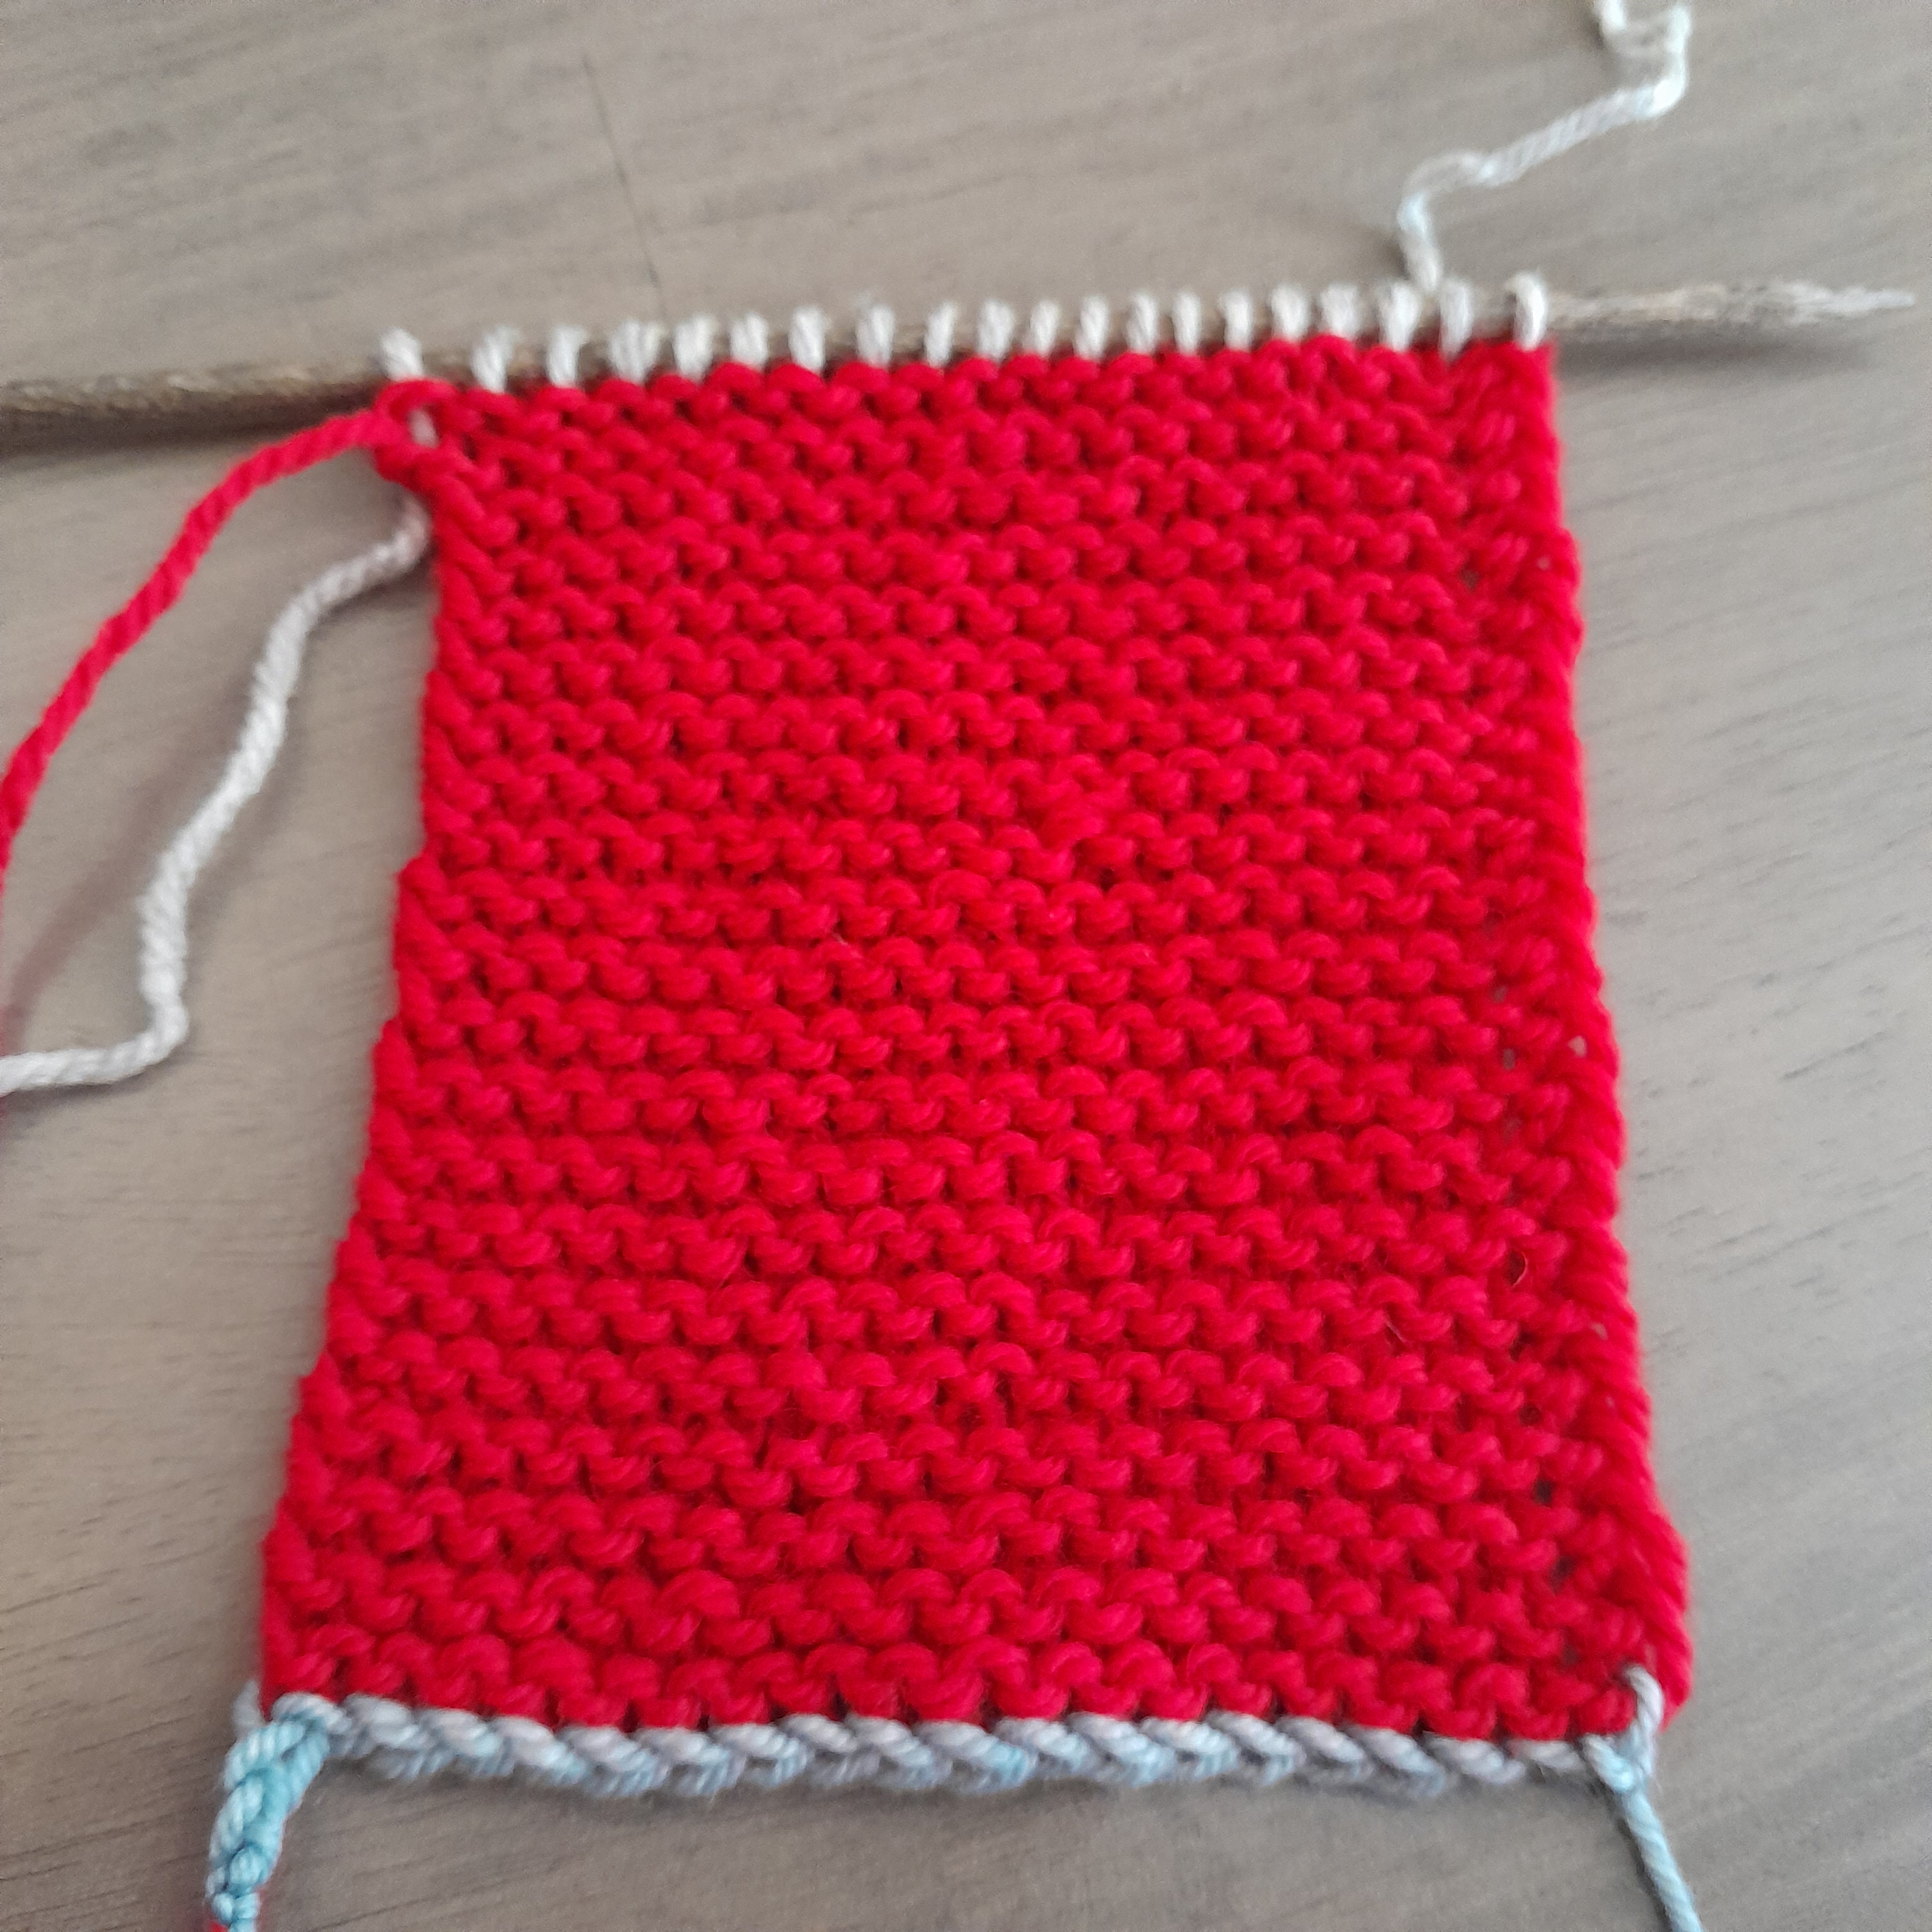
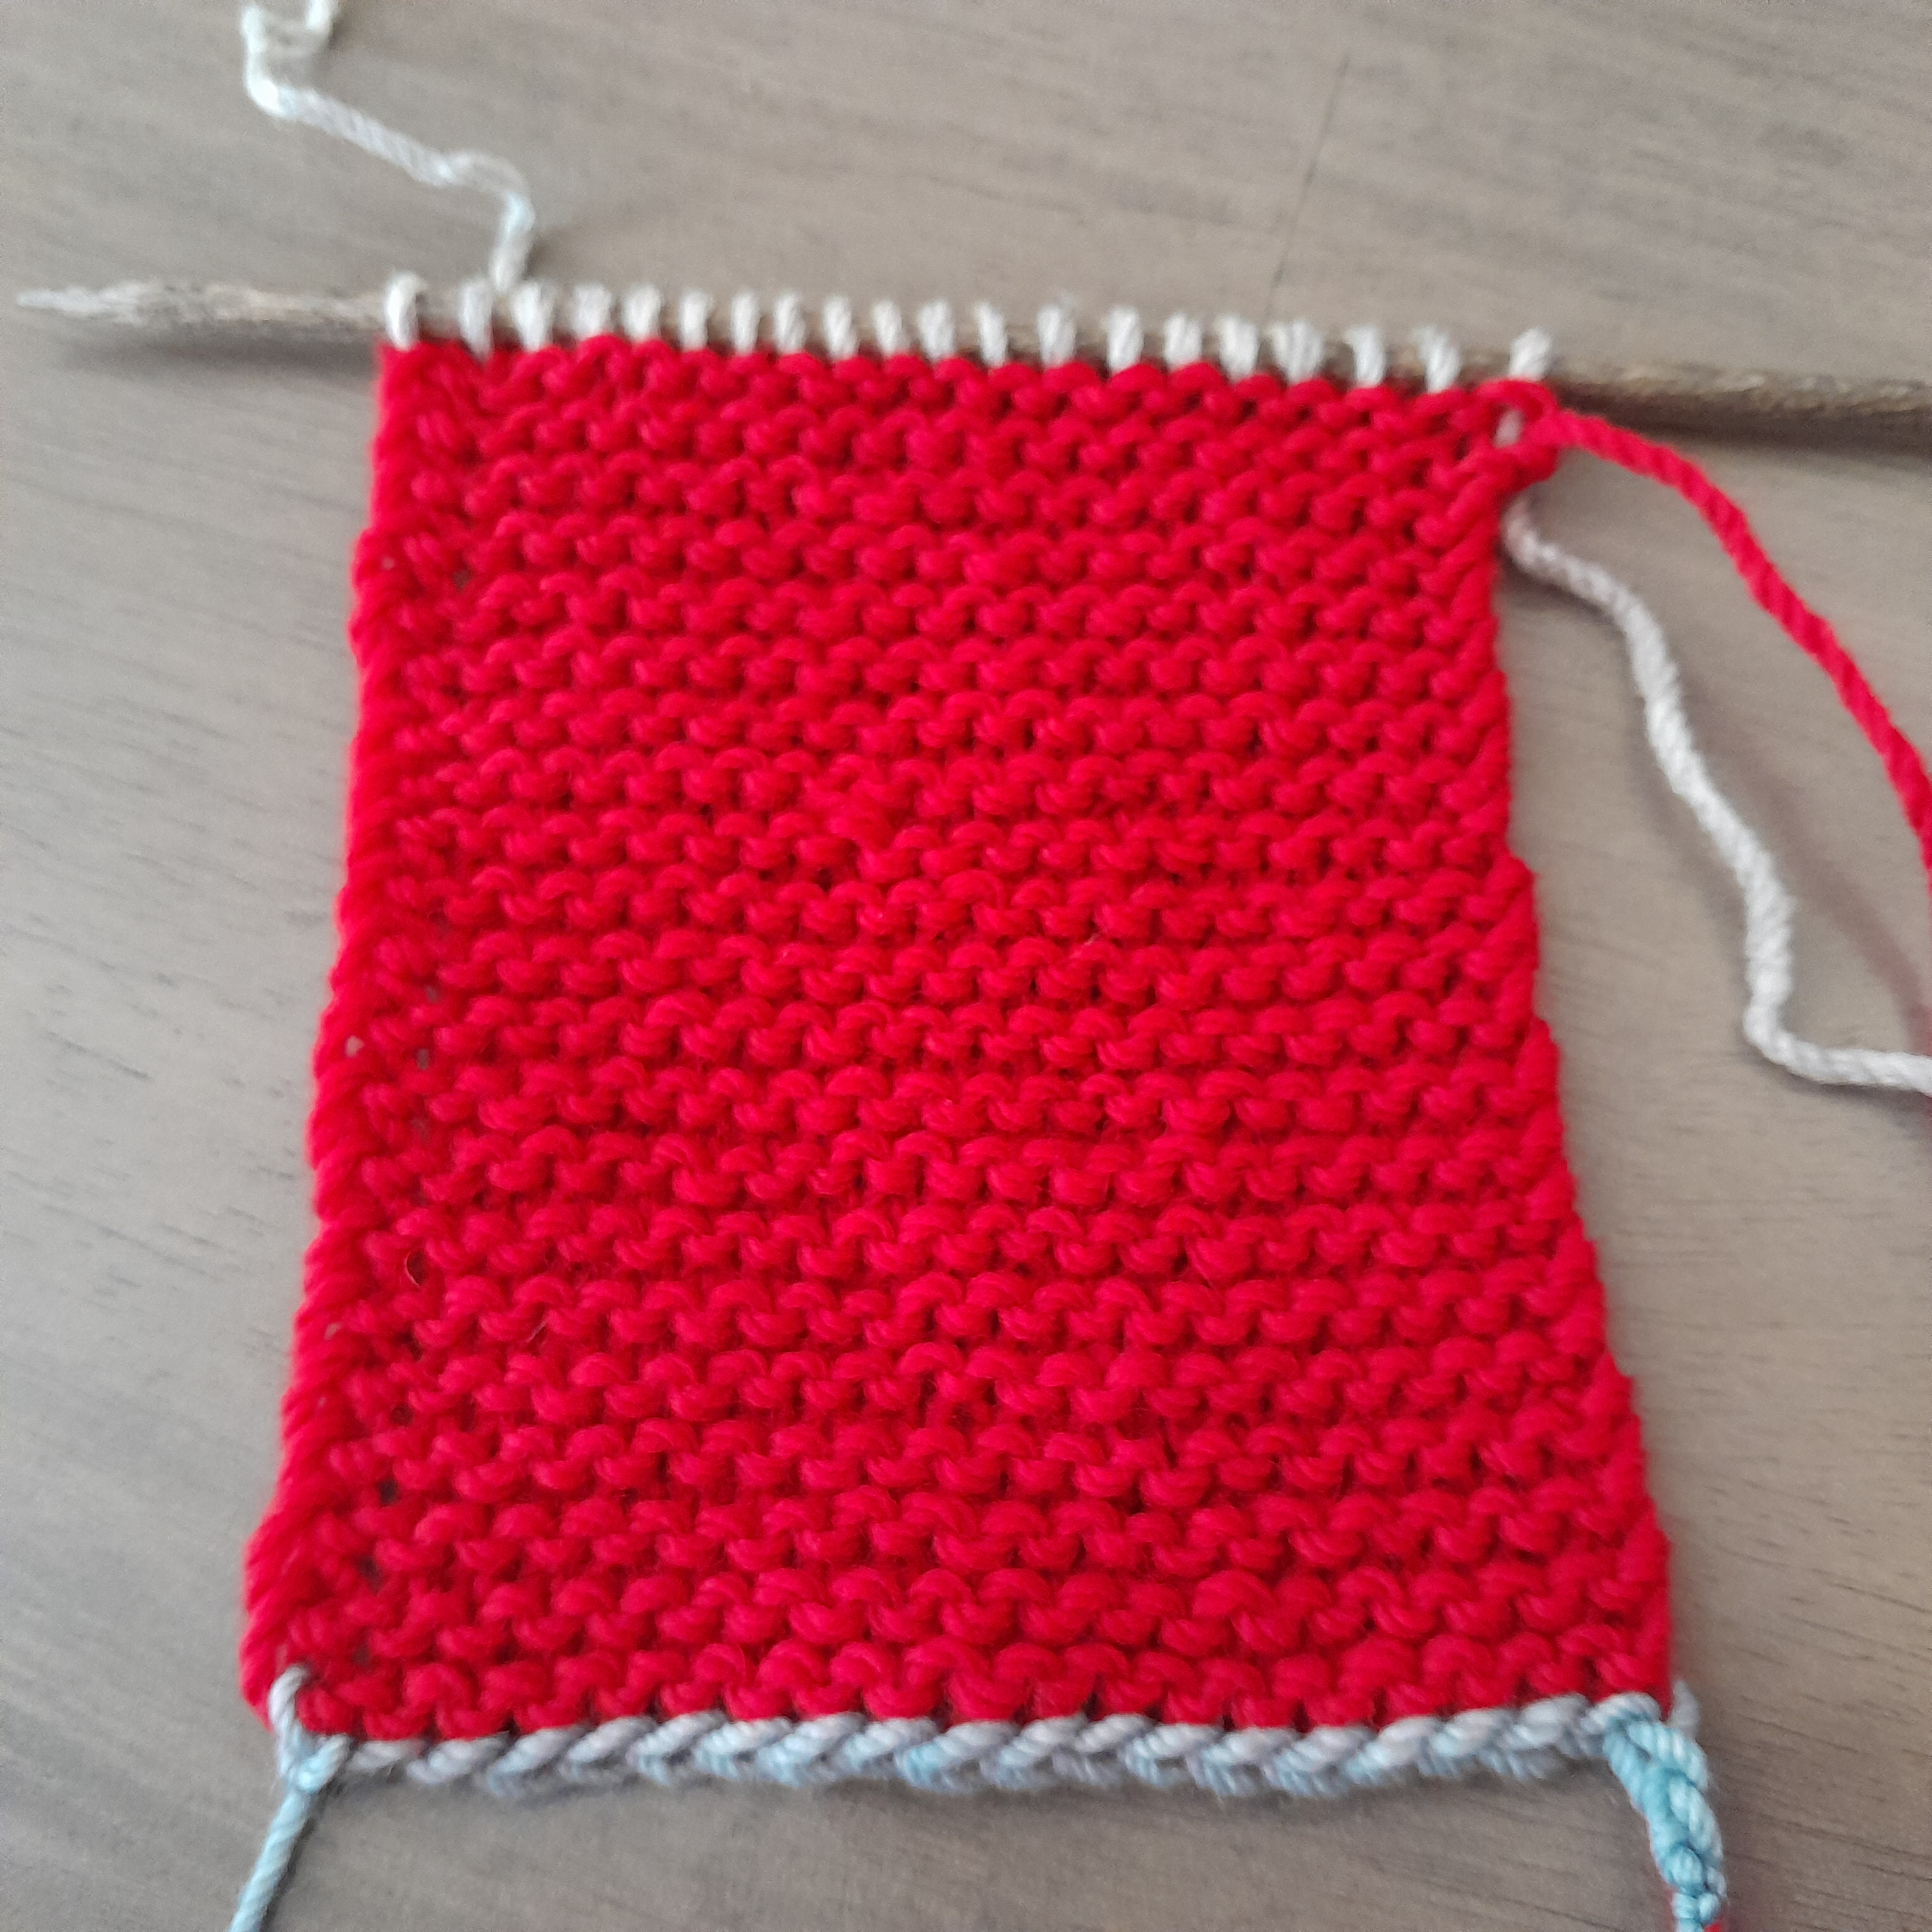
Here you can see the difference in the two edges. The slipped edge is on the left. If yours doesn’t look like this, try again.
From here to the end of the post, the photos in the left column are the left-handed version and the photos in the right column are the right-handed version. The next step is to knit across so that you are ready to pick up in the slipped stitches.
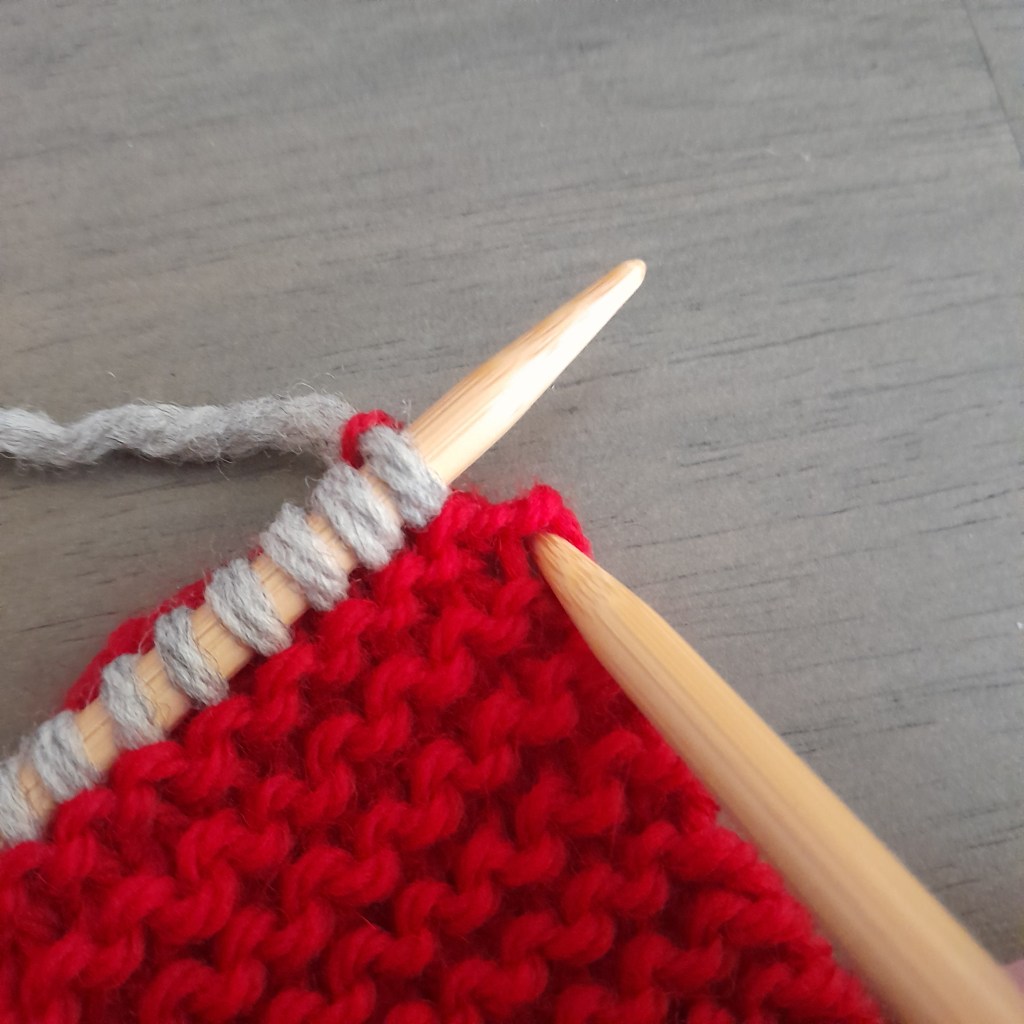
Grab another needle to be the receiving needle for the picked up and knit stitches in the slipped stitches. Insert, what would be the giving needle, under both loops of the 1st slipped stitch.


Knit into the back of both of these loops as if they are one stitch. Working into the back of the loops makes for less holes. If you’re getting holes that are too big, try working into the back loop.
You piece should now look like this.
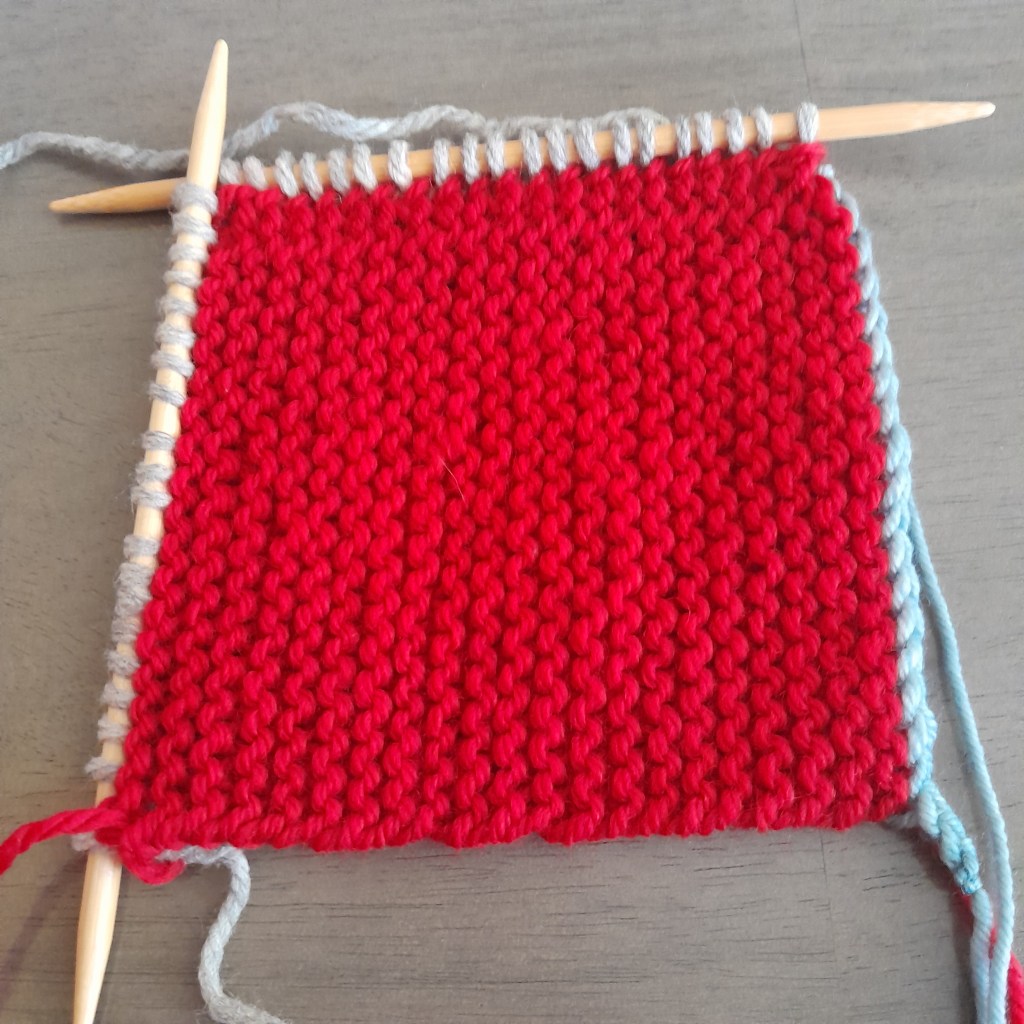
Next, grab another needle and unpick your provisional cast on. Note that this makes the newly picked up stitch off by half a stitch and you will probably be short one. You can live with that or increase one in the center stitch as you knit across the unpicked stitches.

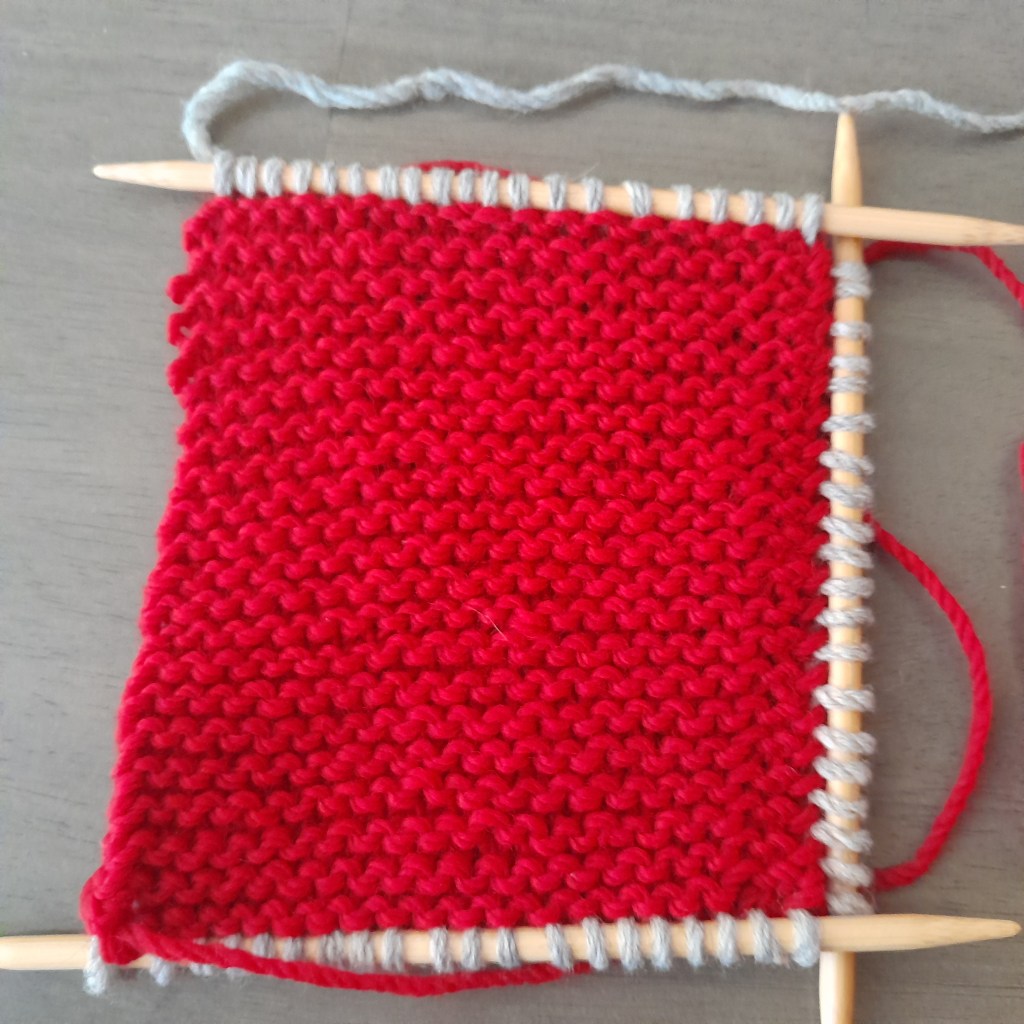
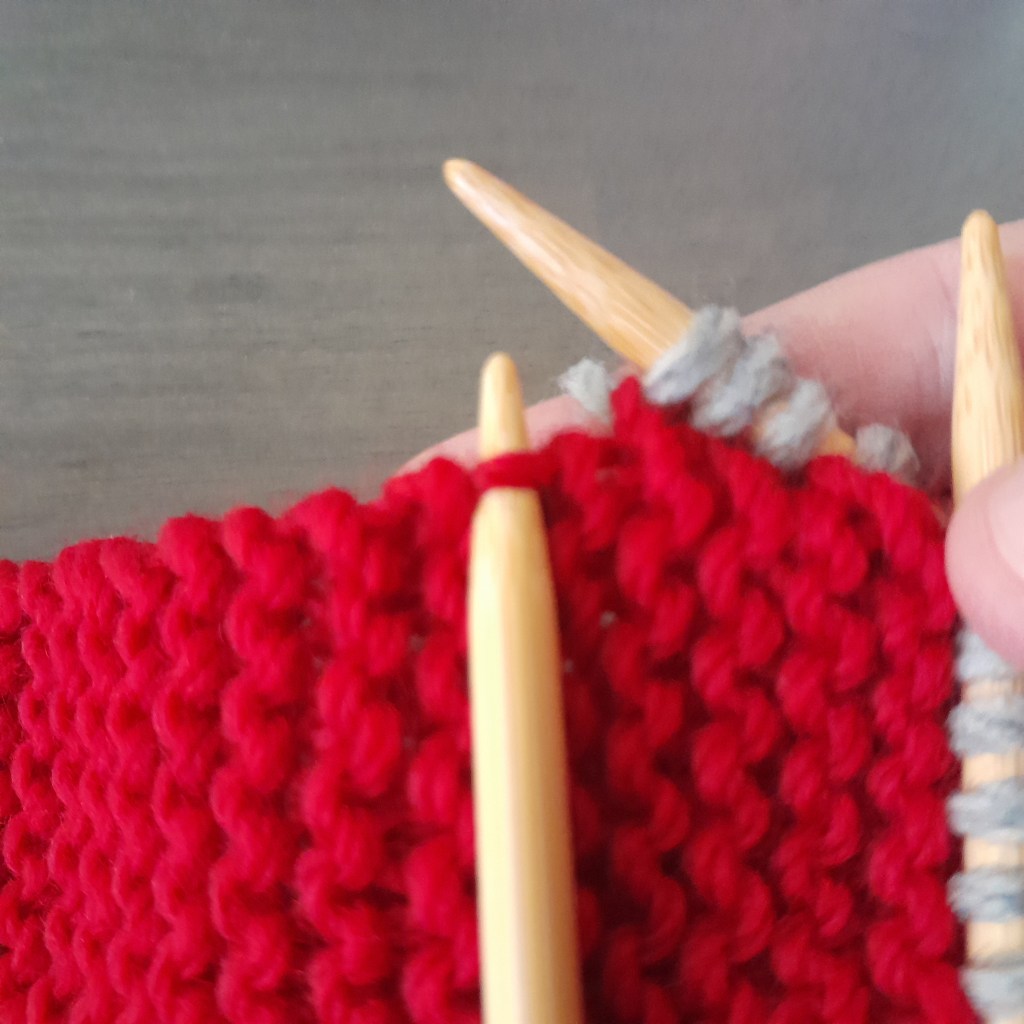
Now we are ready to pick up and knit stitches in the ends of rows that are not slipped. Insert the tip of what would be the giving needle into the side of your piece between the next two rows, grab the final needle and work that stitch through the back loop.


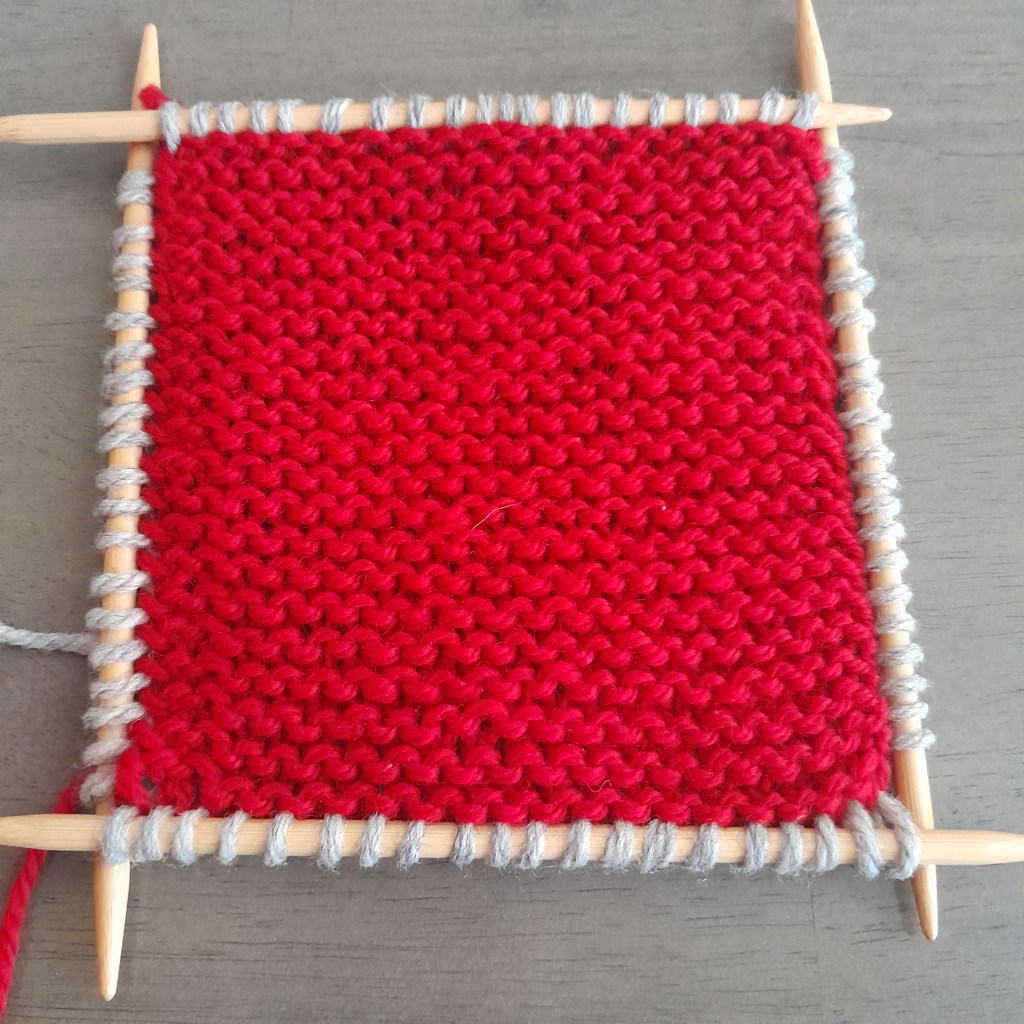
You now have live stitches on all four sides and could work an edging. For larger pieces use circular needles to accommodate all of the stitches.
While this swatch has you pick up 20 stitches in the ends of 40 rows, it won’t always be that simple. Sometimes you will need to pick up something messy like 23 stitches in the ends of 30 rows. The idea is for the work to lay flat. Do your best, check as you go and remember you can always redo it.
I also have tutorial videos that explain each of these picks up if you learn better that way.
Please feel free to share photos of your adventures HERE and drop a comment below!
Happy Making!
