
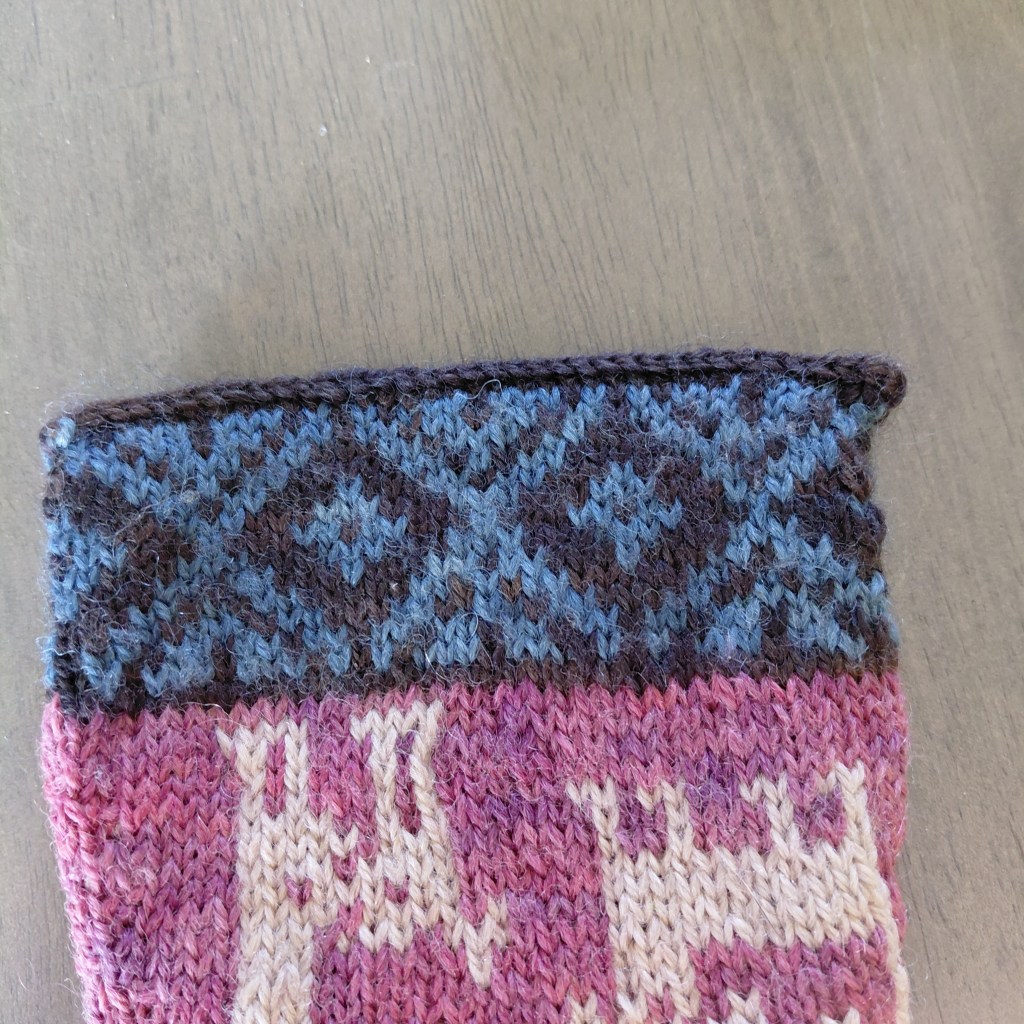
Sometimes you want to put two sets of live stitches together; to close a sock toe, the bottom of a bag, a shawl corner or sweater shoulder. I am going to share with you three options for doing this.
Kitchener Stitch is named after a military leader who wanted smooth toed socks for his men during World War 1. I think this is great. He probably didn’t come up with the method just asked for it and the name stuck.
It does create a smooth join where 2 sets of live stitches are put together. We most often see it in socks, but it can also be used for parts of sweaters, just be mindful of the weight the seam is bearing, I’ve used it to close cowls as well. I can see it used for hats that are worked in long rows and then seamed up.
The two ends of the cowl below were joined together using the Kitchener Stitch.

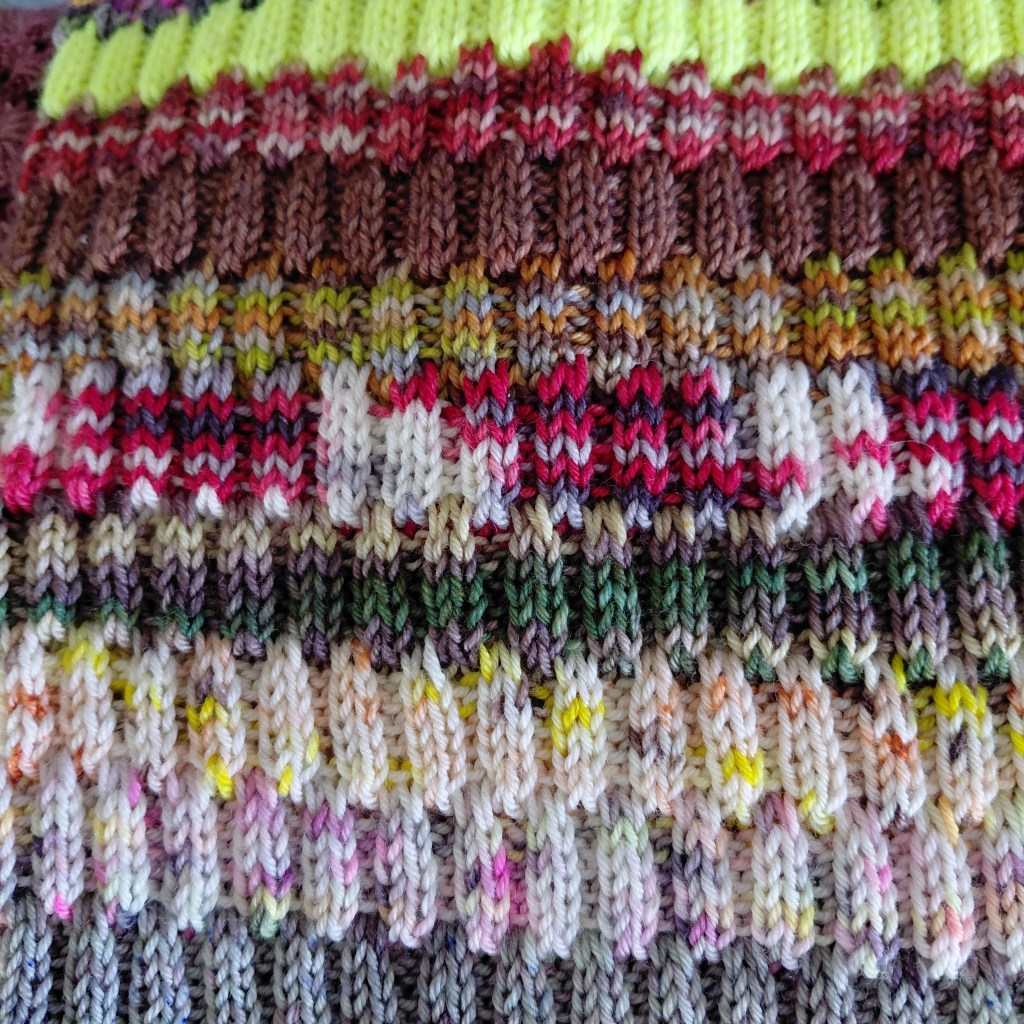
The Kitchener Seam is done between the section that is red, black and white and the one above it.
Sock toe closed with Kitchener Stitch.

Kitchener Stitch is useful in many pieces and places, just pay attention to how much weight that seam has to bear. This isn’t the best weight bearing seam.
Orenburg grafting, tutorial coming soon, is used, as the name suggests, in Orenburg lace pieces. The first time I did it I was skeptical but now I love it! I have used it in some of my own patterns.
The thing about Orenburg lace is that the edging is worked as you go. This is great for color use and once you’re done, you’re done. So to set the scene a bit for the directions below. You have worked the body, edging included, of your shawl followed by working the top edging. This is done by working on just enough stitches to make up the edging and binding off one stitch every other row until the same number of edging stitches remain. These are the two sets of stitches that will be grafted together.
Here are the instructions of how to do it, copied from Pretty as a Rose. See photo below of the finished corner.
Lefties can work as written or reverse the right and left, but it really doesn’t matter. Also note you are not using the working yarn to do this. You can break your yarn now or after you finish grafting.
Remove the marker. *Slip the first stitch on the right-hand needle to the left-hand needle. Pull the 2nd stitch on the left needle through the slipped stitch. Slip the first stitch on the left-hand needle to the right-hand needle. Pull the 2nd stitch on the right needle through the slipped stitch. Repeat from the * until only 1 stitch remains. Pull a piece of yarn through the remaining stitch and tie a knot.
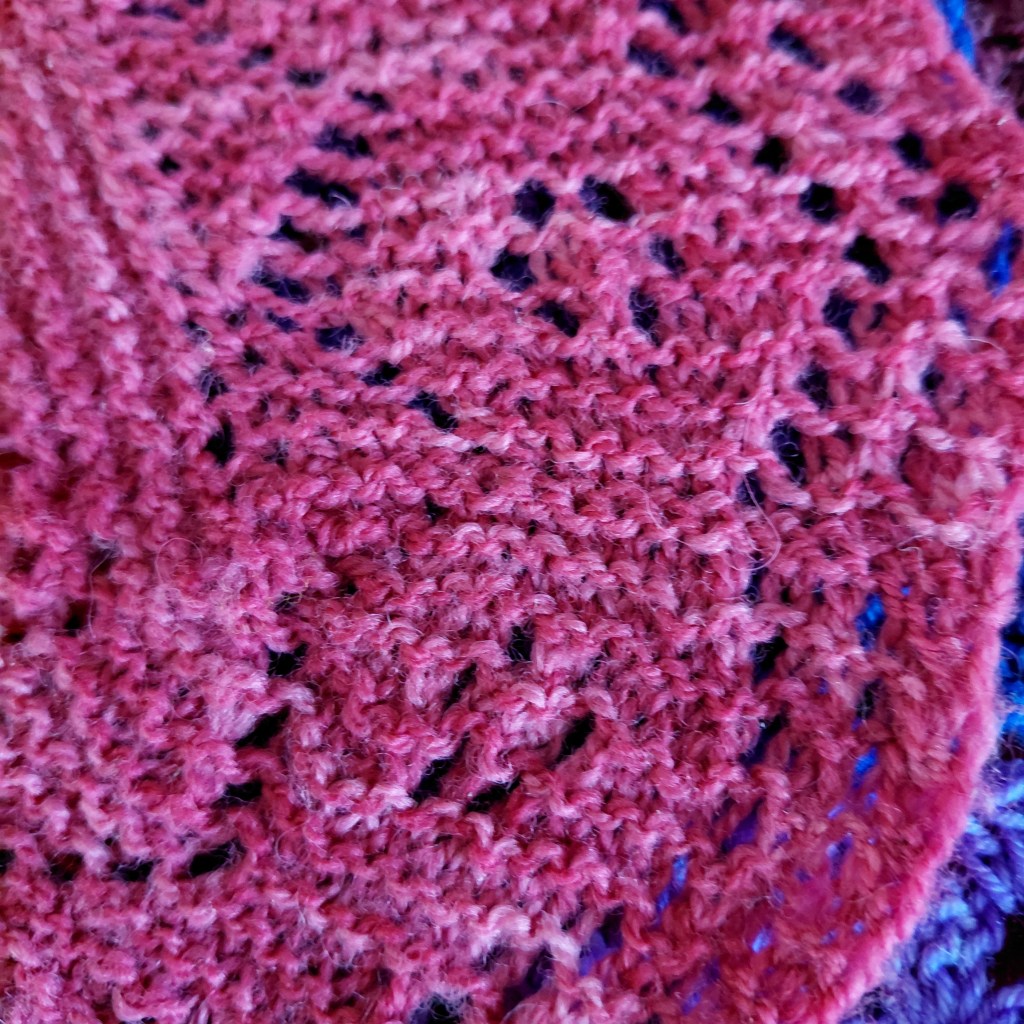
There’s a center line that you can just make out as slightly different, this is where the grafting happened.
This method of grafting will bear a load better than Kitchener. So if you’re wanting smooth and load bearing this is the way to go.
The three needle bind off, tutorial coming later, this is a load bearing grafting method, however is leaves a ridge on the inside of the piece that might be irritating next to skin. This method is good for sweaters, usually at the shoulder but is also great for the bottoms of bags or totes, tops of some hat styles and cowls.
I will add links to the tutorials, which include swatches that you can try, as they become available.
Do you have another grafting method that you’d like to share? Please do, in the comments below.
Happy Making!
