

Many stitchers use these terms interchangeably, for others this is the reason why they don’t swatch and still some don’t know what either of these words is referring to.
As a designer and tech editor these words are important to the work I produce and how I educate designers and stitchers on how to use them and which one applies when.
I am hoping that this post will clear up some of the confusion and give you a boost of confidence to start swatching.
I am going to give a simple definition and then a couple of examples to make it all make sense.
Gauge is the number of stitches and rows/rounds per a set measurement, usually 4″ / 10 cm, used to make the piece that is in the pattern. Tension is what you as the stitcher use, and do, to get the same numbers, or close thereof.
In a pattern the yarn weight, sometimes the exact yarn, that was used is listed. Then the hook or needle size(s) the designer used are listed, sometimes it is not, more on that in a moment. That info is usually followed by “or size needed to obtain gauge.” This is important. This is where swatching comes into play and what tension is.
You and the designer probably don’t stitch in the exact same way and that is the first thing a swatch is going to tell you.
A good place to begin swatching is taking that number from the gauge info and casting on or chaining that many, plus 12 or whatever the stitch repeat is. If you need help with this please email me and let’s talk.
Then work the number of rows/rounds needed for 6″. But the gauge info is for 4″ / 10 cm. I know. Math time, use a calculator to save your brain cells. The number that is listed for how many rows/rounds needs to be divided by 4 or 10 depending on which measuring system you are using. Multiply this number by 6 or 15. That is the number of rows/rounds that you need to work in your swatch.
Rows and rounds are NOT interchangeable! I’m sorry to be the bearer of bad news but they aren’t. If the swatch is for rounds you are going to have to work in the round. There is a cheater way to do this that I learned in a Franklin Habit class, pre-covid. HERE is a video he has on his YouTube channel. It is for knitting but crocheters can apply it in the same way. Check it out to learn more.
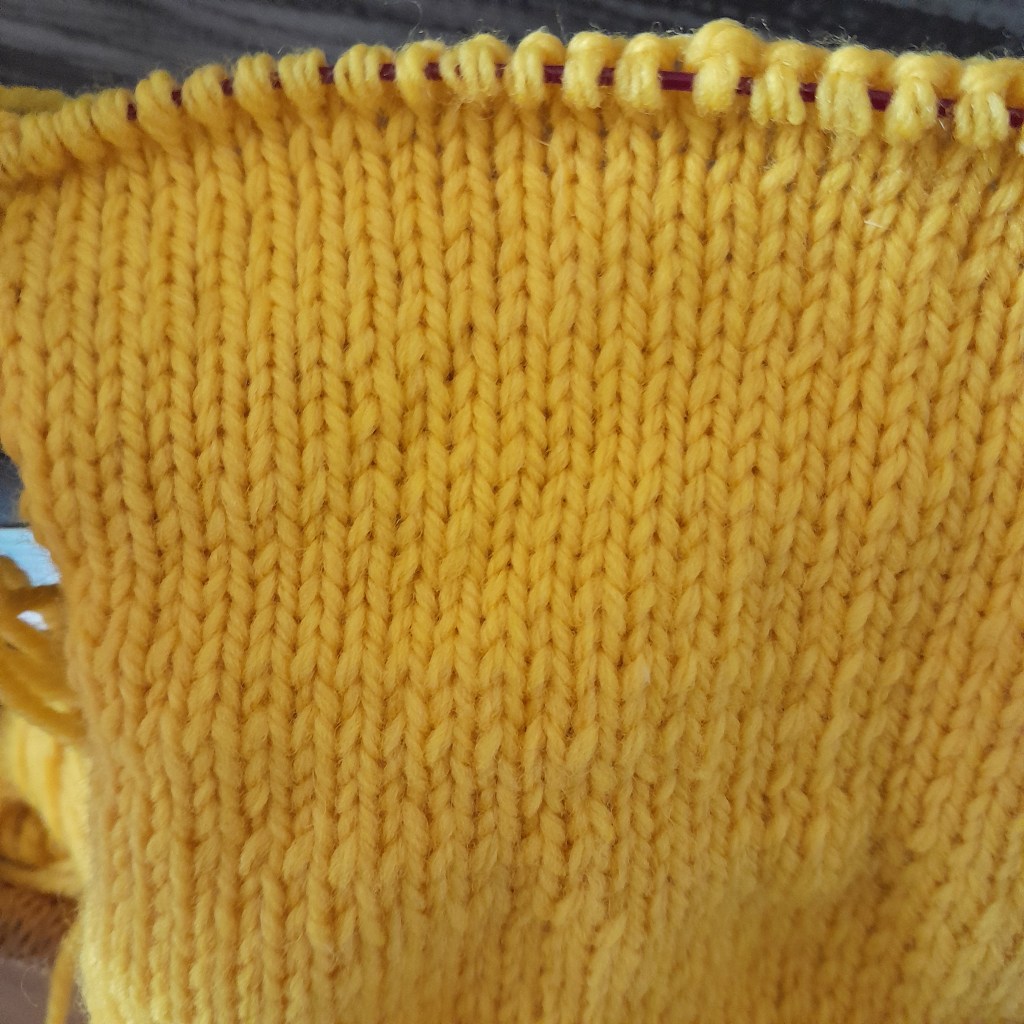
Here is a photo of a swatch where I worked flat first and then speed swatch for “in the round” gauge. Mid-left you can see my carried yarns hanging in the back.
Now that you have your 6″ / 15 cm swatch, theoretically, you can measure your gauge based on the tension you used. Making a large swatch means that you can measure in the center, avoiding the edges and any variable that might throw in. Measure the center 4″ / 10 cm. If your piece is smaller than 4″ / 10 cm you already know you are going to have to make some tension adjustments to have less stitches per inch / cm.
After you have your measurements, compare to the gauge listed in the pattern. Is the tension (knitting method, needle size, material and yarn) you used giving the gauge the pattern indicates? Close? Way off? I will share more about what to do for these situations in a future post. If you can’t wait email me and I will share with you. sara@azariahsfibrearts.com
Be careful of getting too confident and thinking that because you’ve worked a pattern by this designer before and you know what changes you made last time so that the tension you used produced the gauge called for. I tried that with a Stephen West, only once and then learned my lesson. I had knit more than one pattern of his designs and knew what I needed to do to get gauge and so I did that for this new project. It was a disaster! It was too loose, the look of the fabric compared to that in the pattern photos was not good. I ended up going down 3 needles sizes to finally get gauge and the fabric I wanted. If hadn’t adjust my tension to meet gauge I would’ve had a piece that was a lot bigger than what was stated in the pattern and possibly run out of yarn before I there.
That brings us to the patterns that don’t have the hook or needle size listed. I haven’t seen this a lot, probably more in patterns from the 19th century but there is one designer I know of who doesn’t include a needle size in their patterns. I’m not going to share their name here because I don’t want this to sound like a negative call-out. If you want to know email me. Instead of sharing the needle size, they instead have tables of different stitch gauges. So if you work this pattern at this gauge your finished piece will be this size. How do you work with that info? Swatching. If you know that A yarn and X needle gives YOU 7 stitches per inch / 2.5 cm and the gauge listed is 27 stitches to 4″ / 10 cm, you have something to work with. I will go into more detail on swatching in that same future post. I don’t want to rabbit trail too far from the point of this post.
There are many variables that can change your tension. Obviously you and the designer don’t stitch the exact same way, that was stated earlier. What about material of the hook or the needle? Fiber content of your yarn. Your mood, or theirs, during swatching. The weather and it affects on your body, especially your hands. One thing I think of here is humidity and how well the yarn flows through your hands, or not. That can make a big difference in the tension you’re using to make the stitches.
If you’re asking “What can I do?” I’m glad that you are! The answer, again, is swatch. Do it with intentionality, planning and purpose. Choose a yarn that you love and use often. Then choose the needle or hook size you use most often with it, along with needles and hooks that are 2 sizes up and 2 sizes down. Now using the suggestion on the ball band for how many stitches per inch / cm, cast on or chain the number needed to make 6″ / 15 cm and work until the piece is square. You are going to do this for each needle or hook size. Now in a file, note or on paper, record your findings. The yarn info, needle or hook size and material and then how many stitches per inch / cm. Keep this as a sort of cheat sheet of where to start swatching for your next project. I don’t recommend making these when you’re rushed, angry or really excited, it won’t yield the most accurate information for you.
Below is a link to some tags that you can use on your swatches.
Please share photos by email or drop comments below so we can see how it’s going for you!
Happy Making!

2 thoughts on “Gauge vs Tension”