

I feel like I am following in someone else’s footsteps time-wise as I write this. I’ve had the idea for a while to write this post but wanted it to be in the correct order with the other swatching posts. Edie Eckman recently wrote a post about reclaiming yarn from UFOs and WIPs and that’s why I’ve got that feeling. I am, however, going to take it a step further, one of the justifications that people use to not swatch is “what if I run out of yarn?” and those of us who are pro-swatch reply with “you can always use the swatch yarn.”
I don’t think there is enough info on how to reclaim that swatch yarn and there are some unanswered questions. I want to talk about all of that but first, what I promised last week, where to start swatching?
For each swatch work basic simple stitches. You can use the basic directions found HERE for crocheters and HERE for knitters. Use the adventure tags to label your swatches for current and future use.

After you have blocked your swatch, which you have done so that you can have the most accurate info, the yarn in that swatch will be different than the yarn that is in the ball or skein. It might be stretched out in different areas and it is going to be what I call “wiggly” which just means that it is wavy.

If you were going to the stitch the entire piece from this blocked yarn and aren’t just adding in the blocked yarn, then you can do that and still get good results. Remember a few years ago when sock blanks were big and people would knit from the already knitted strands of yarn? It would be sort of like that. For those who have done this you have the experience of seeing that a piece stitched from wiggly yarn doesn’t look great and can make you question what you’re doing. Same idea if you’ve ripped and re-stitched something because you messed up or changed your on mind on something.
Because the idea here is to reclaim the blocked yarn, not stitch with wiggly bits, let’s get down to business. Unless you have made an unusually large swatch or are working with very fine yarn and made a 6″ / 15 cm square swatch, there shouldn’t be a scary amount of yardage / meterage to work with. Either way I recommend following what I have detailed below to avoid tangles and unneeded messes. Pets or kids anyone?
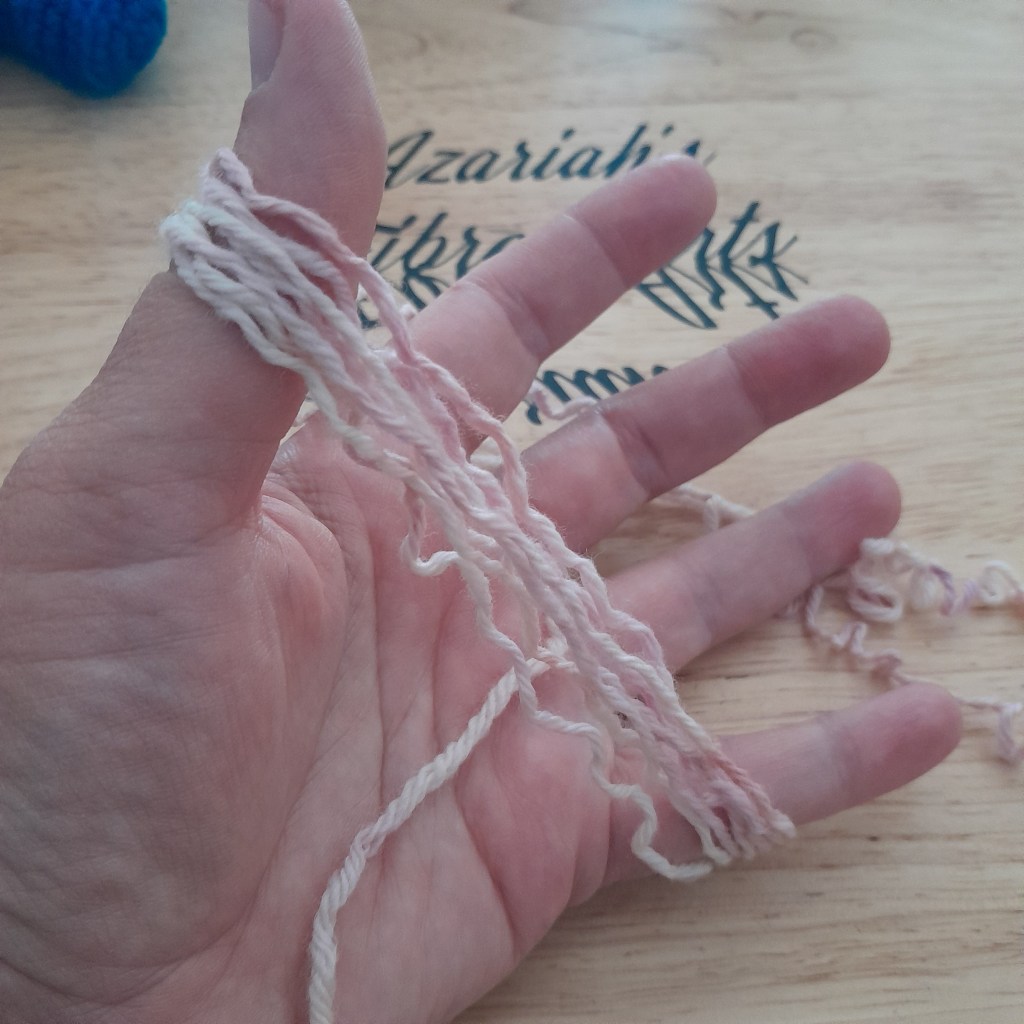
If you have woven in your ends you will have to find those and get them out. Remove the knot that closed the final stitch, this will make the last loop live and you should be able to freely pull the stitches out. Some yarns will be stickier than others and will need a bit more time and care. I do not suggest doing this with suri, mohair or furry yarns. This will not work with synthetics.
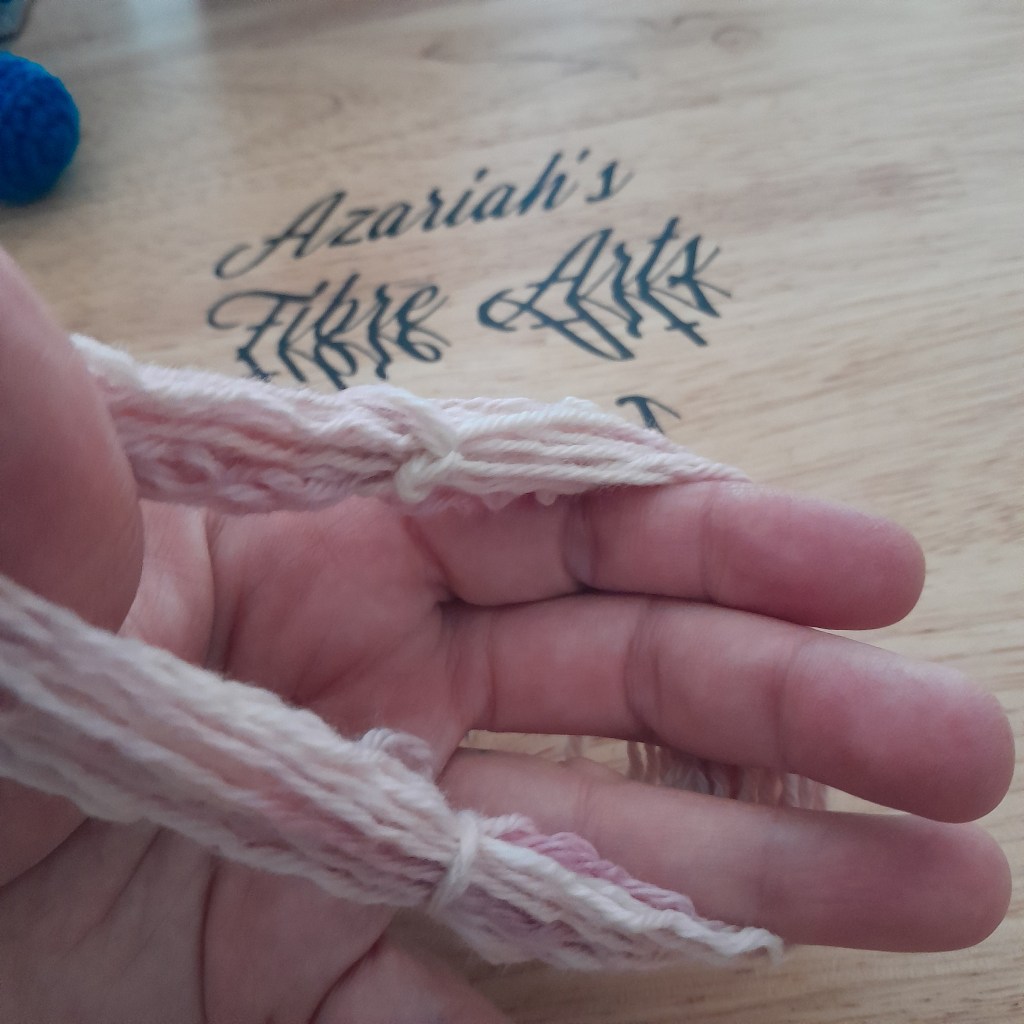
From here you can choose to unravel the entire swatch into a pile or you can begin winding it into a small hank as you unravel. I prefer the former so that I have both hands free to manipulate knots, tangles and fuzzies as I come to them. I think it also gives a more consistent tension on the hank to wind from a pile of freed yarn.
If you don’t have a niddy noddy, do an internet search for what to use instead. I really liked THIS idea. They are easy to make if you have some basic tools and skills. If you know someone with a 3D printer that’s also an option.
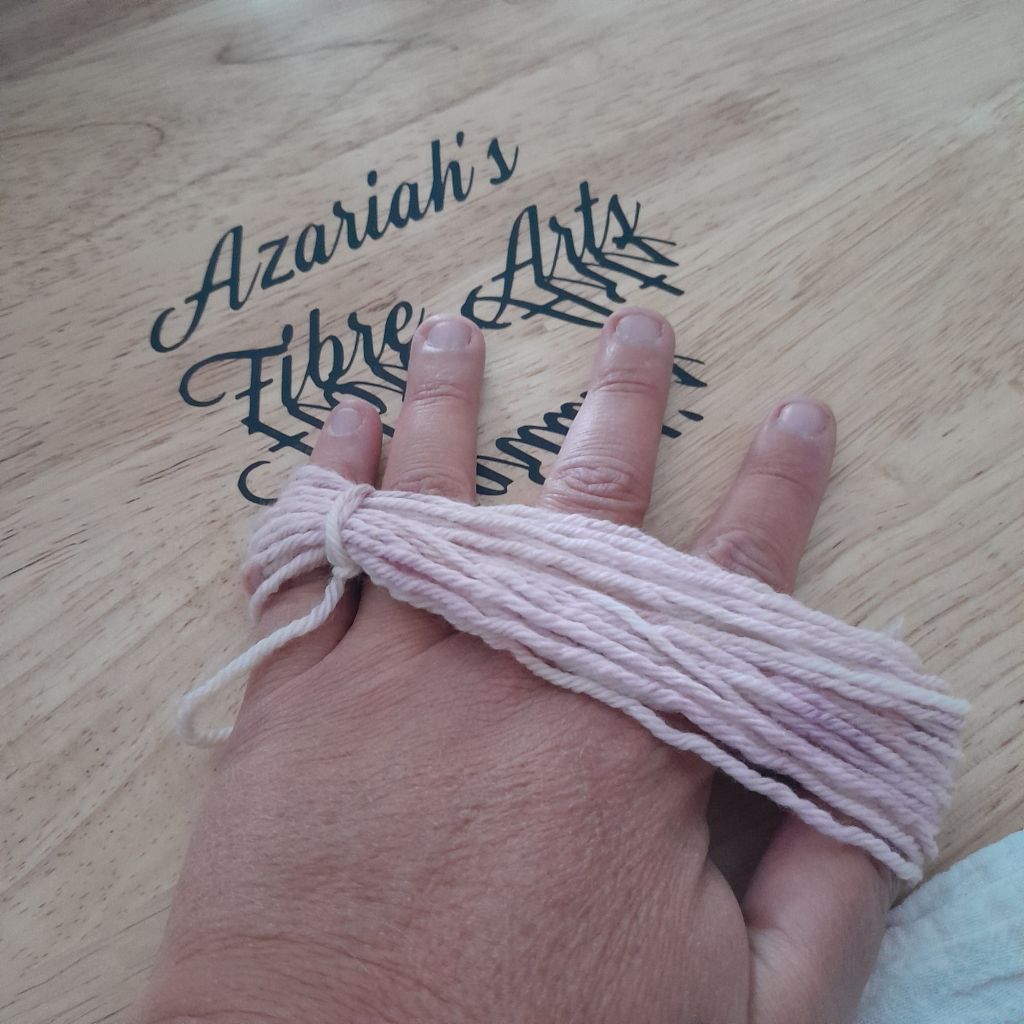
Ok, so now that you have secured a tool upon which to wind your yarn, wind it up into a skein. You will need to tie the ends to it and if you tie these well and are gentle with the skein through the rest of the process that will be enough. If you have a larger skein or want to be extra careful you can use scrap yarn to add more ties as desired.


Fill a vessel with warm water, I use the water right from the tap, chlorine and all. If you’re concerned about your water quality, the presence of different metals could shift the color, then filter the water or use bottled water and warm it up a bit on the stove or in the microwave. You should be able to put your hand in the water.
Submerge the skein into the water being careful to not tangle it. Leave it to soak from about 30 minutes. Over night if needed is okay too.

Remove the skein from the water and squeeze out as much of the water as you can, not wringing. Then roll the skein in a towel or spin in a salad spinner.
You can leave it to dry laying on the towel if it is in a place where kids and pets won’t get it. Or hang it to dry, unweighted over a sink or tub as some water will drip out.

After about 24 hours, depending on your climate, the yarn is ready to be wound and used.
Happy making!
