

One of the first things you learn as a new crocheter, unless you start out working in the round, is how to work into a foundation chain. Making chains is the first step to crocheting and then learning to work taller stitches into those chains to make the fabric grow the other direction is the next step.
But many of us, self taught or otherwise, probably didn’t think about which part of the chain to work into. Like I often say, “As long as you’re consistent, it won’t matter.” This is true here as well but knowing the difference in the look that working in different parts of the chain can make might make you try something new.
Grab a hook, some yarn and give this a try with me.
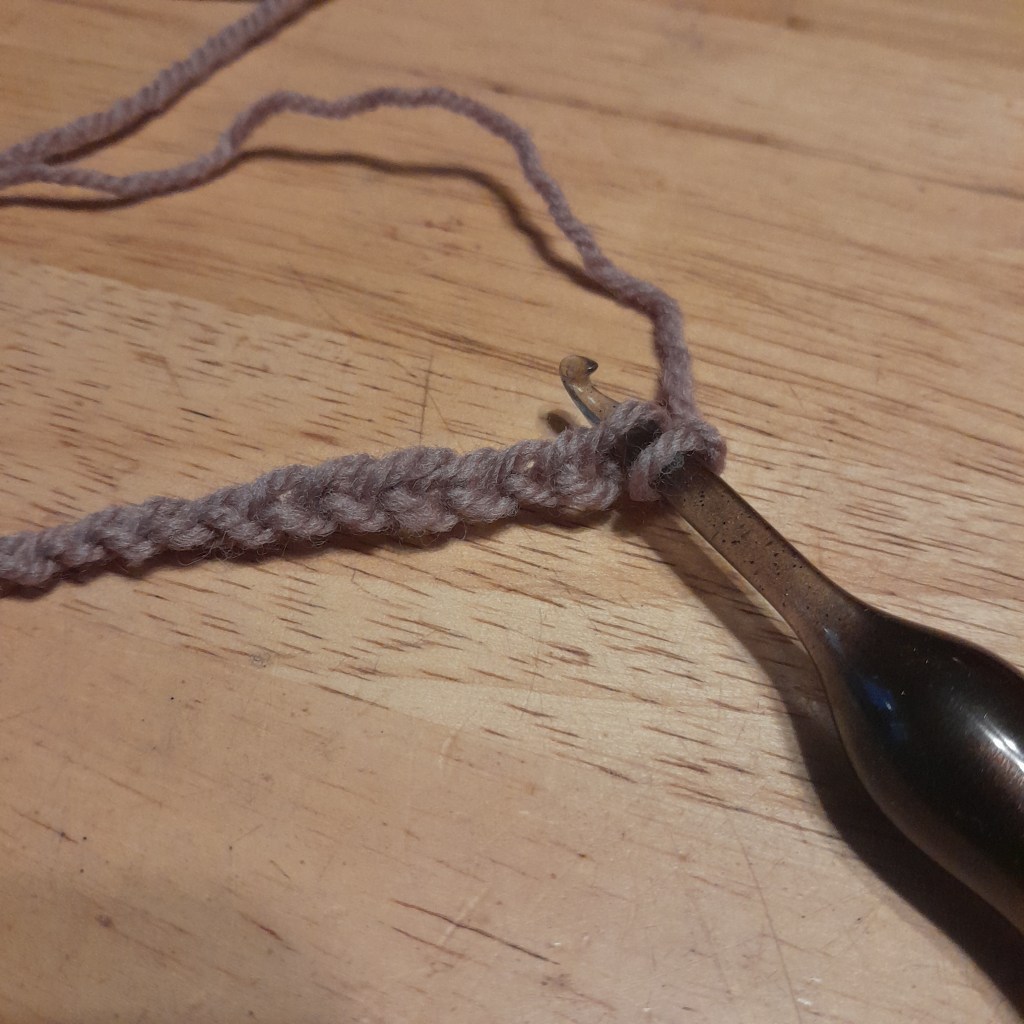
Chain 46 loose enough to get back into each chain easily but snug enough to keep the stitch definition.

Beginning in the 2nd chain from the hook, single crochet in just the top loop of the 2nd chain and in each of the next 14 chains.
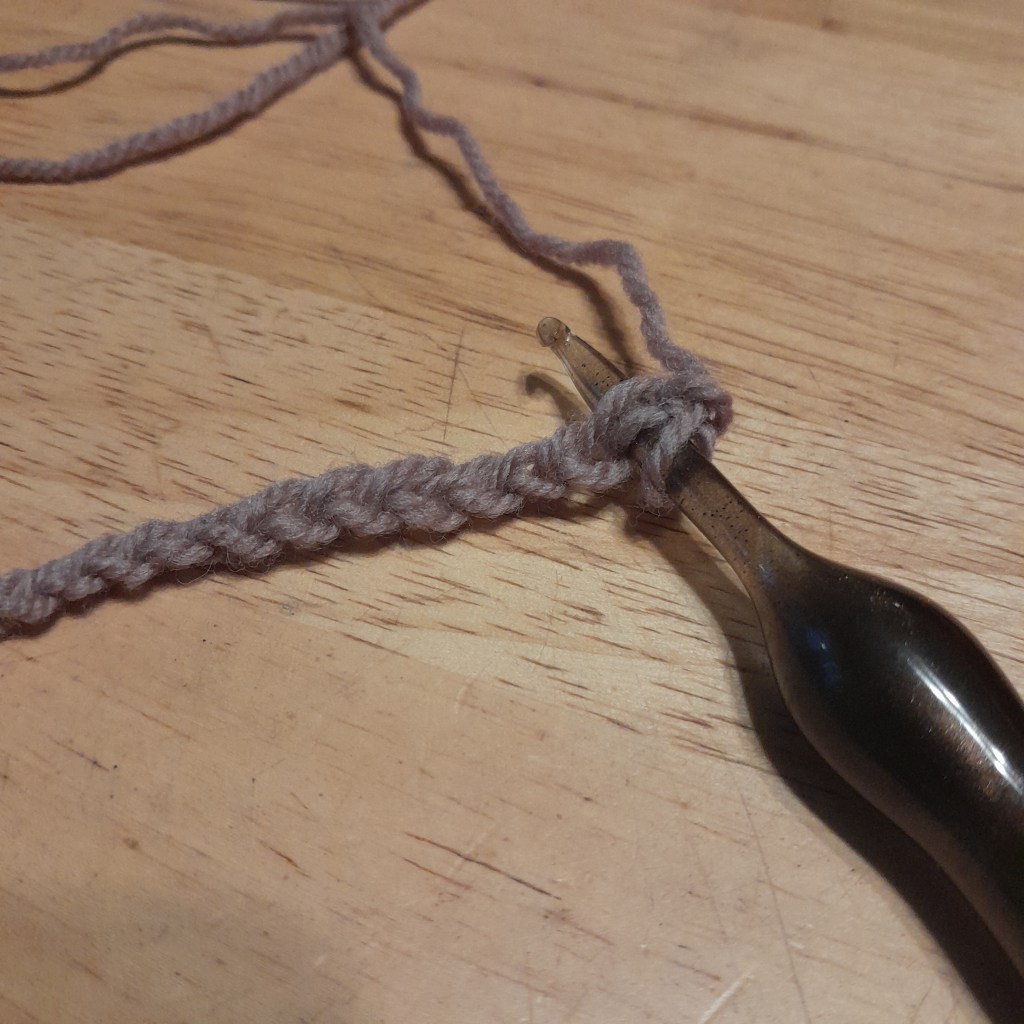
Now single crochet in both loops of the next 15 chains.
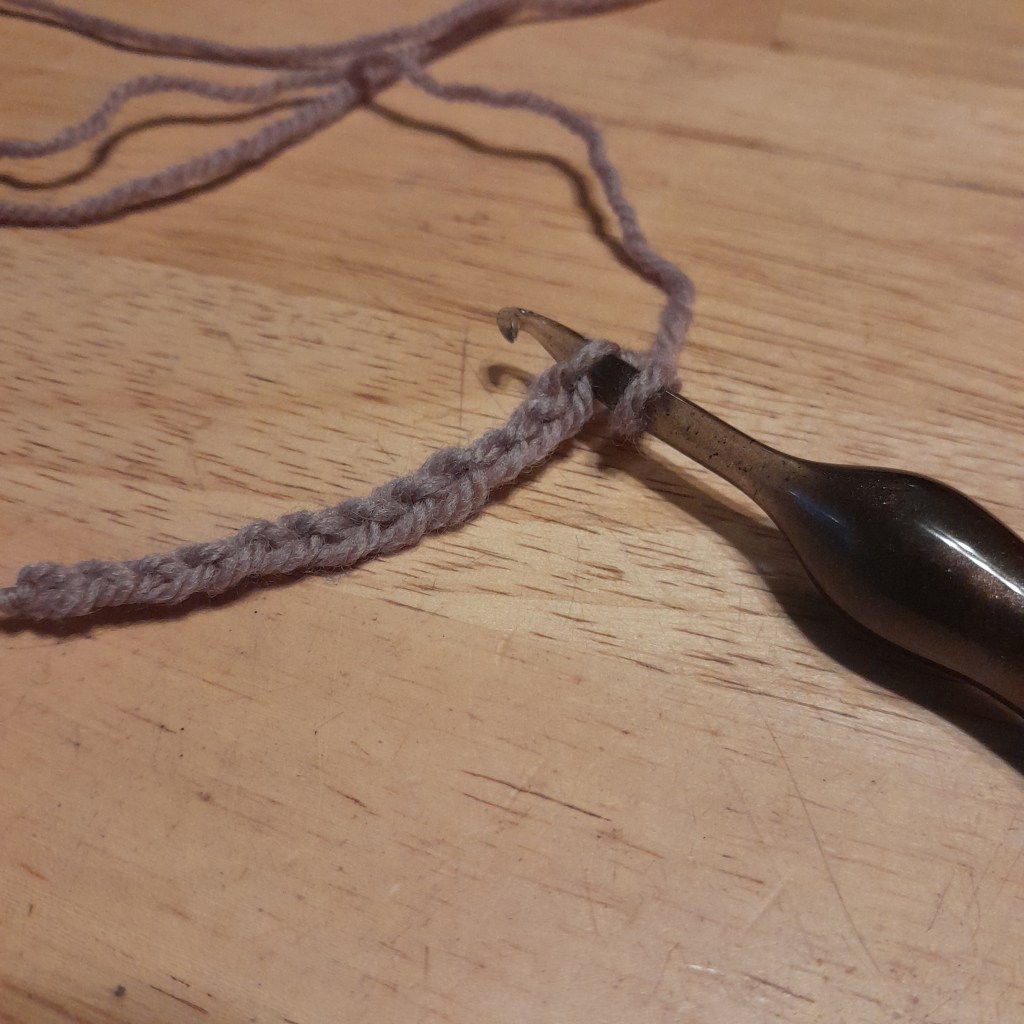
Finally single crochet in the back bump of the last 15 chains.
Chain 1, turn, single crochet in the same stitch and in each single crochet across. This will help you to look at your work a bit better.
Each of these methods has a good application. My least favorite is working in just the top loop. When I first started making baby booties, for the sole I worked the first side in the top loop and then worked in the bottom loop for the other part of the round. That was leaving too many holes and that’s when I started playing with which loop to work in to.
When is the top chain ok? Not very often in my opinion. I’d use it on the bottom of a hat, if I didn’t work a foundation single or double crochet. You’ll understand more as I share when to use the other two options.
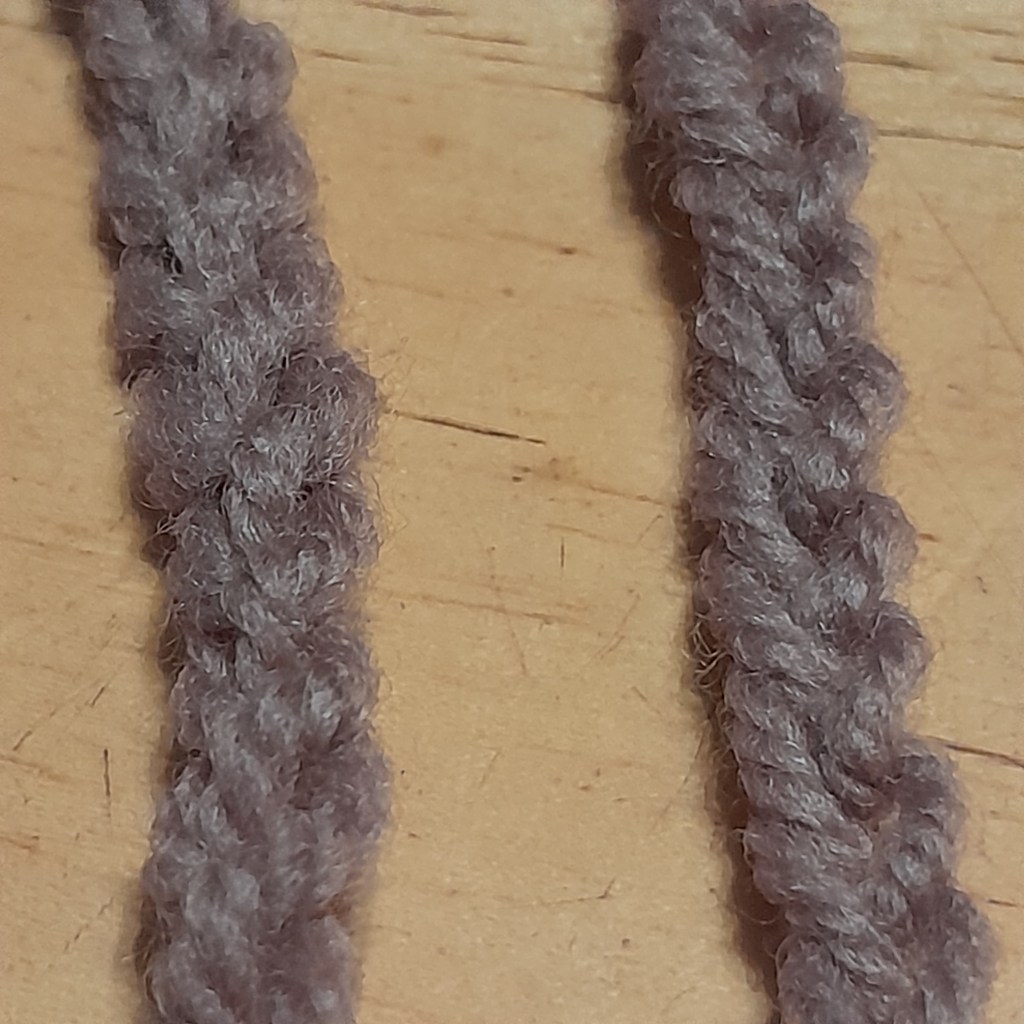
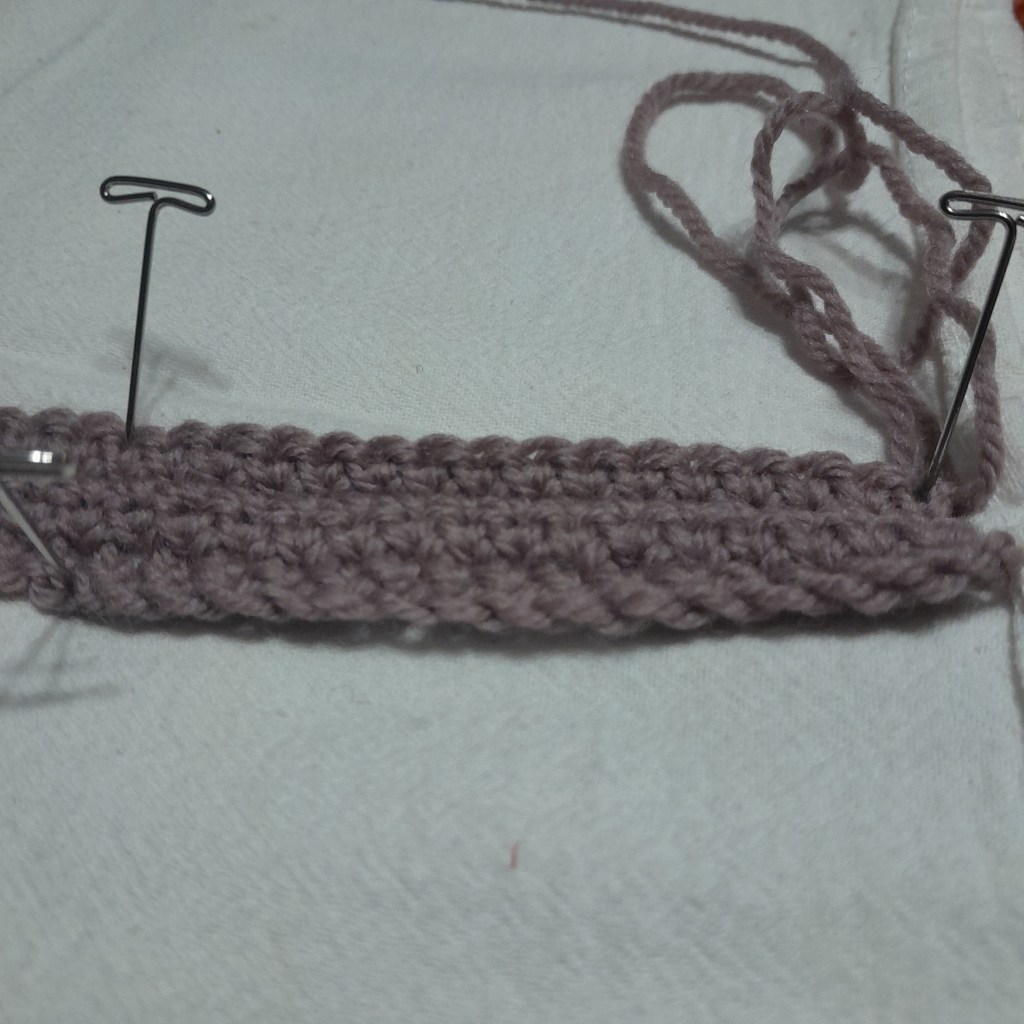
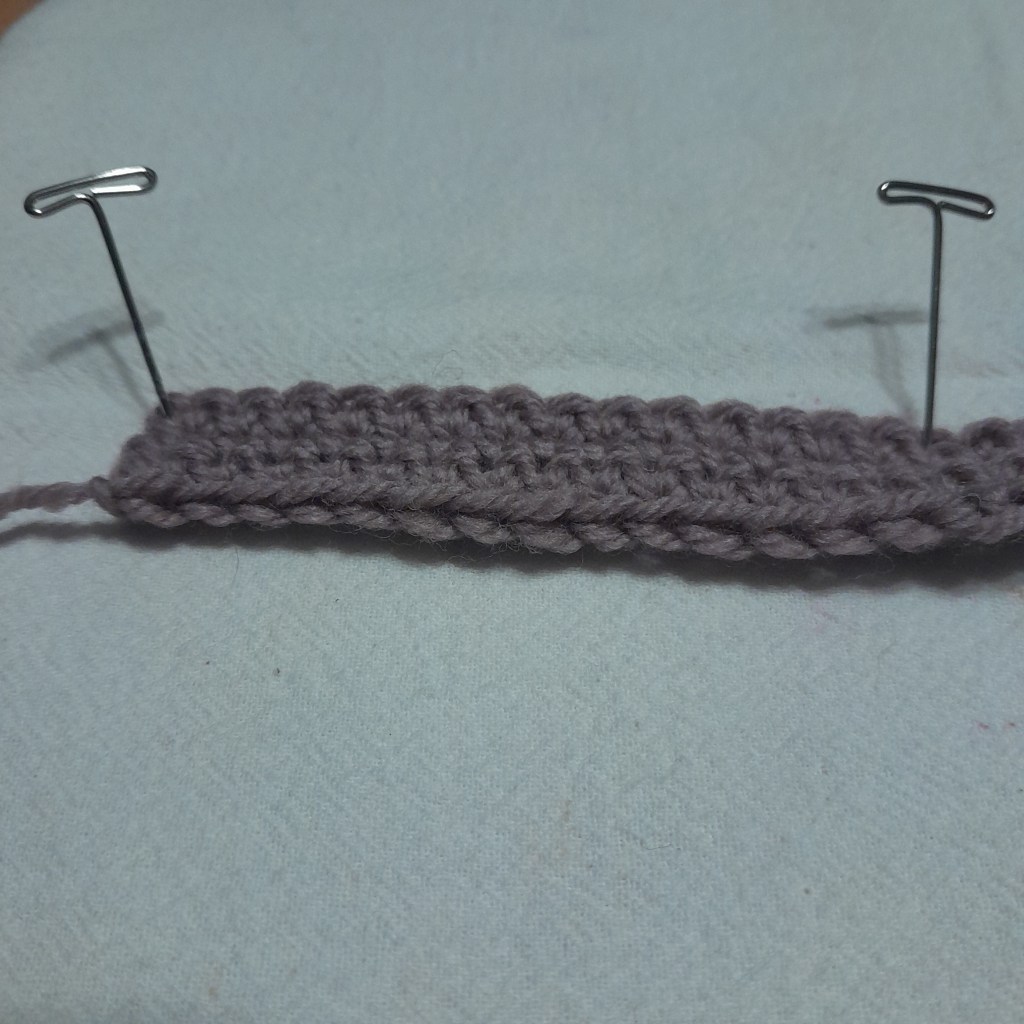
The photos below show two different views of the single crochets worked in just the top loop. The photo on the left shows what the edge looks like and the photo on the right is more of an aerial view. You can see that the loops look open and somewhat unfinished, these are the bottom loops, often called the “free loops” in a pattern from the ’90s.
Working into both loops is my preferred method for most things crochet. I don’t use chains for hats worked from the bottom up or socks worked from the cuff down. Though I still haven’t finished a sock, another time.
I now work my booties through both loops on the first side of the round and then in the bump on the second side of the round. Bootie pattern available for free HERE if you want to try it.
Working into both loops makes a neat finished looking edge but also leaves the bumps available if you decide to add an edging or join your pieces together. Think blankets, wash rags, garment pieces, anything that needs an edging.
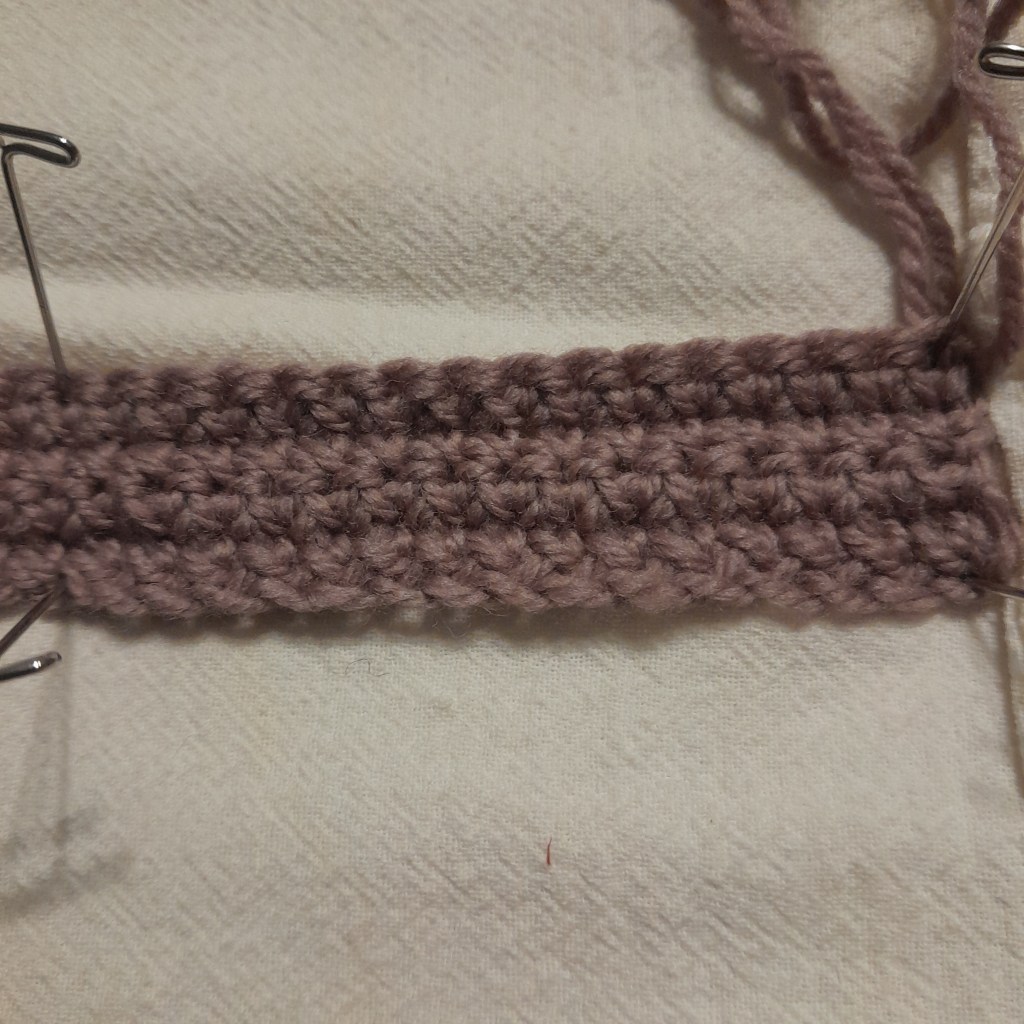
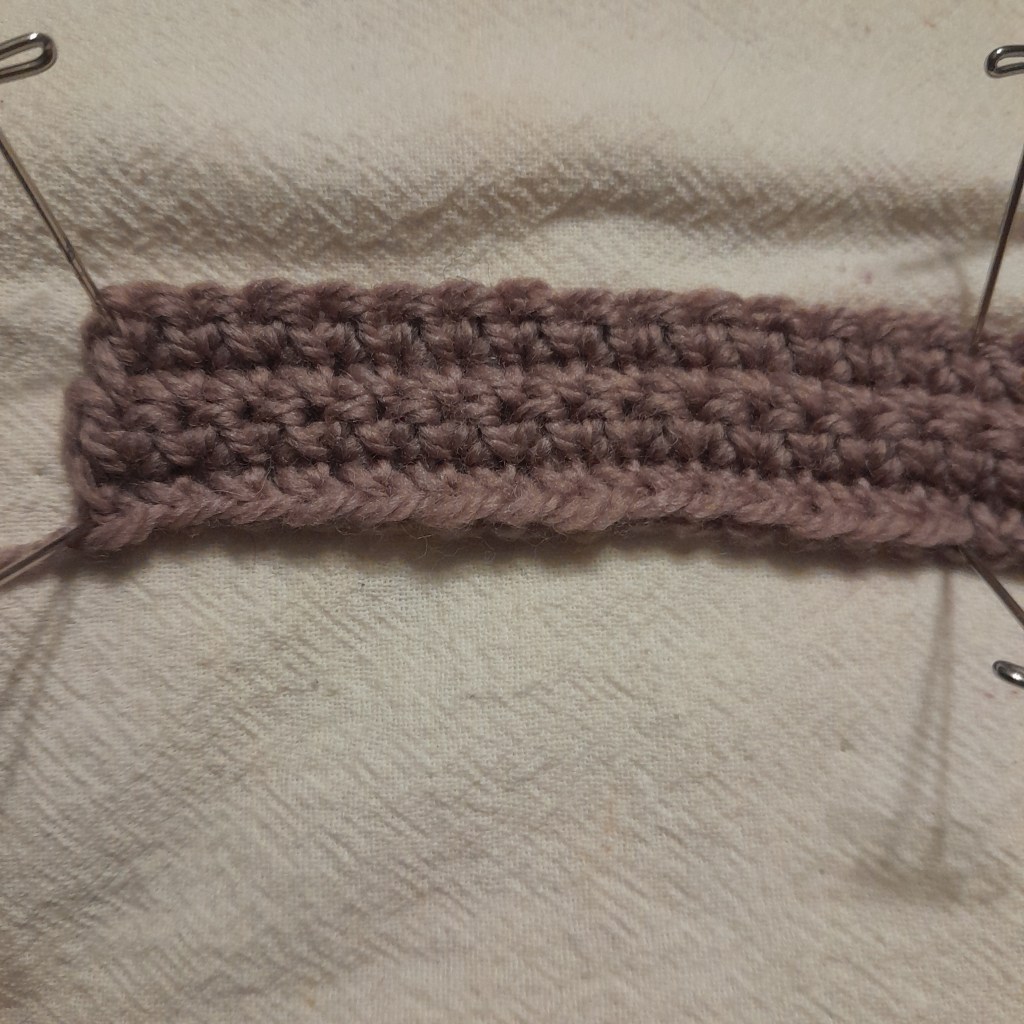
The photos below show two different views of the single crochets worked in both loops. The photo on the left shows what the edge looks like and the photo on the right is more of an aerial view. You can see that the loops look even and mostly finished, these are the bump loops. They are ready for an edging, joining or just fine as they are.
Working into the bump, sometimes called the “back bump”, looks better and works better, in most applications, than working into both loops. I don’t do it because I don’t think about it. It leaves an edge that looks more like the top of your crochet stitches. It has both the front and back loop showing. This will make it easier to add an edging or more intuitive to join to other pieces confidently that you aren’t missing any stitches.
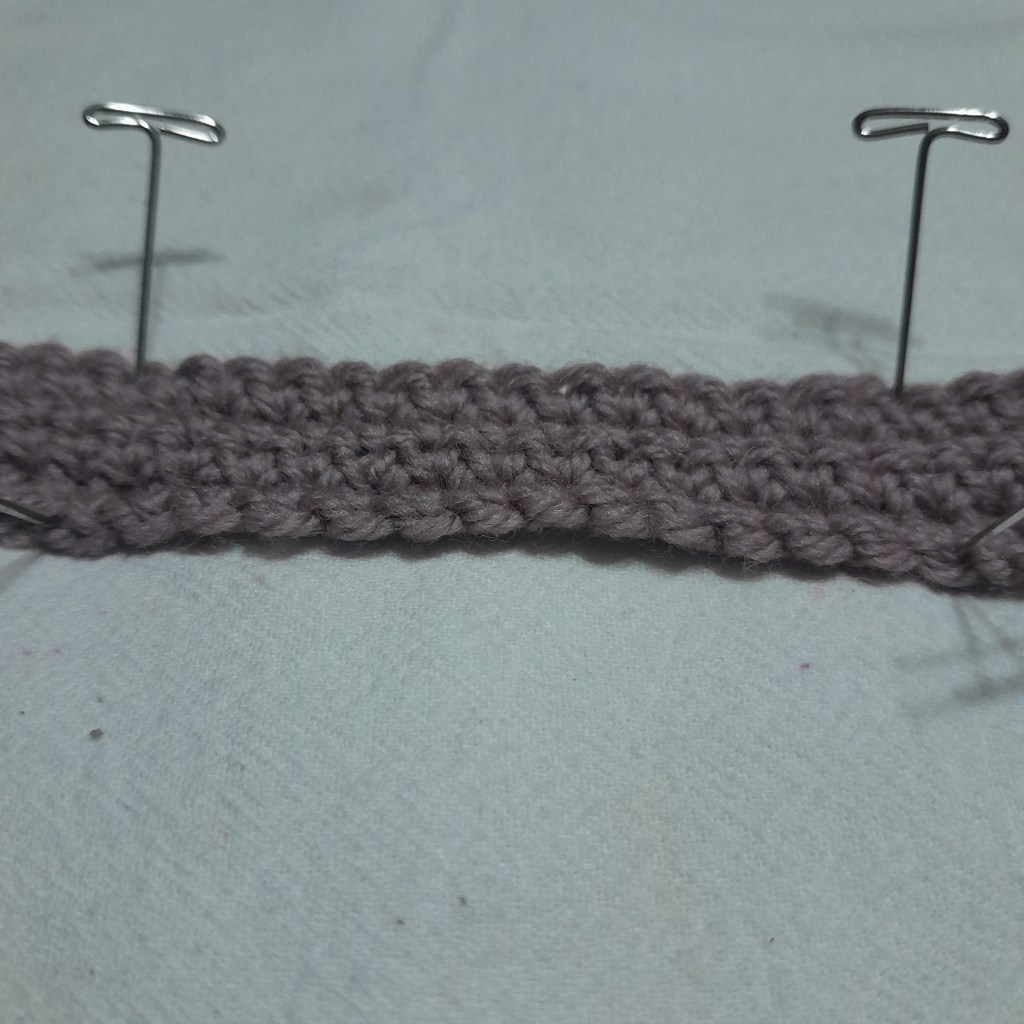
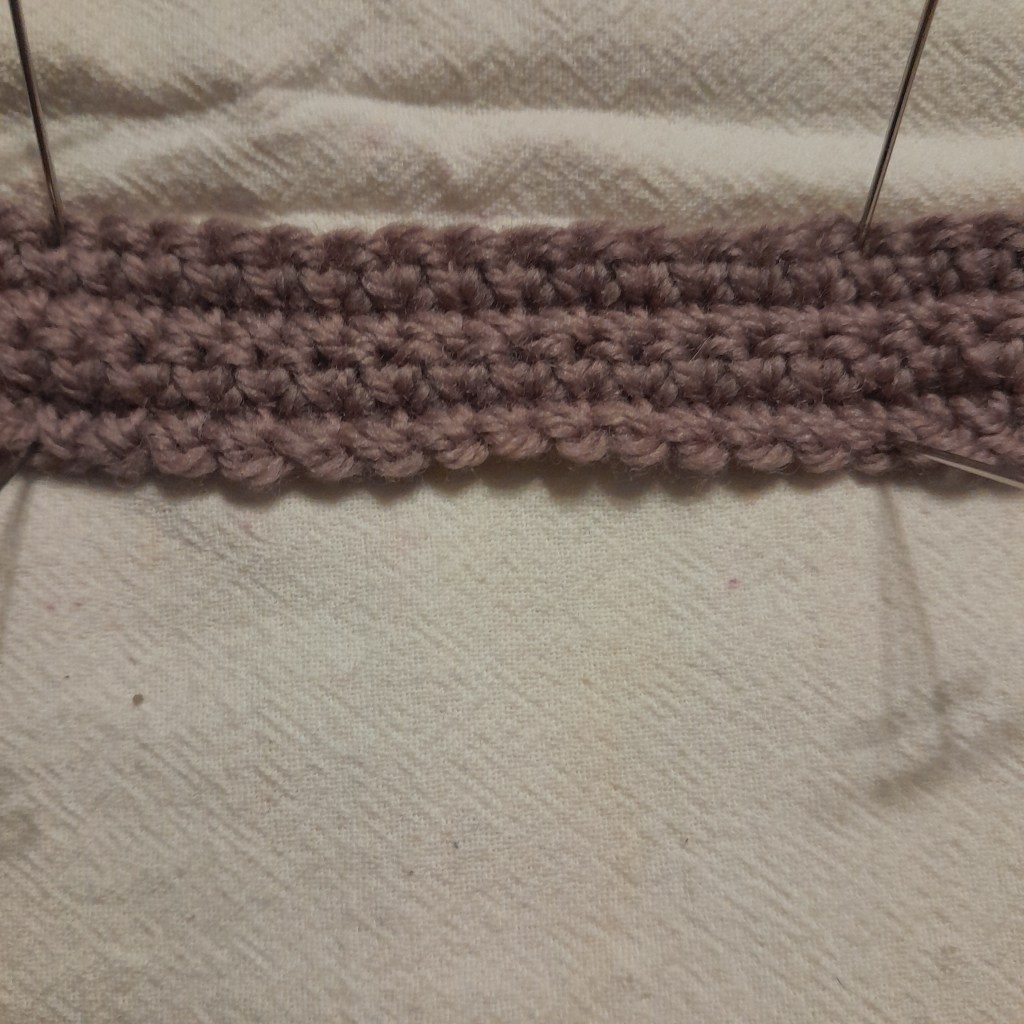
The photos below show two different views of the single crochets worked in the bumps. The photo on the left shows what the edge looks like and the photo on the right is more of an aerial view. You can see that both the front and back loops are accessible but look finished as is. They are ready for an edging, joining or just fine as they are.
I think for my next crochet project, with a foundation chain, I will try working into the bump. That edge looks very nice. This will be the back piece for my Aloe Wish Hiss sweater, check out progress on that HERE.
Do you have preference? If so please comment below or share your photos in the Google folder.
Happy Making!
